Introduction
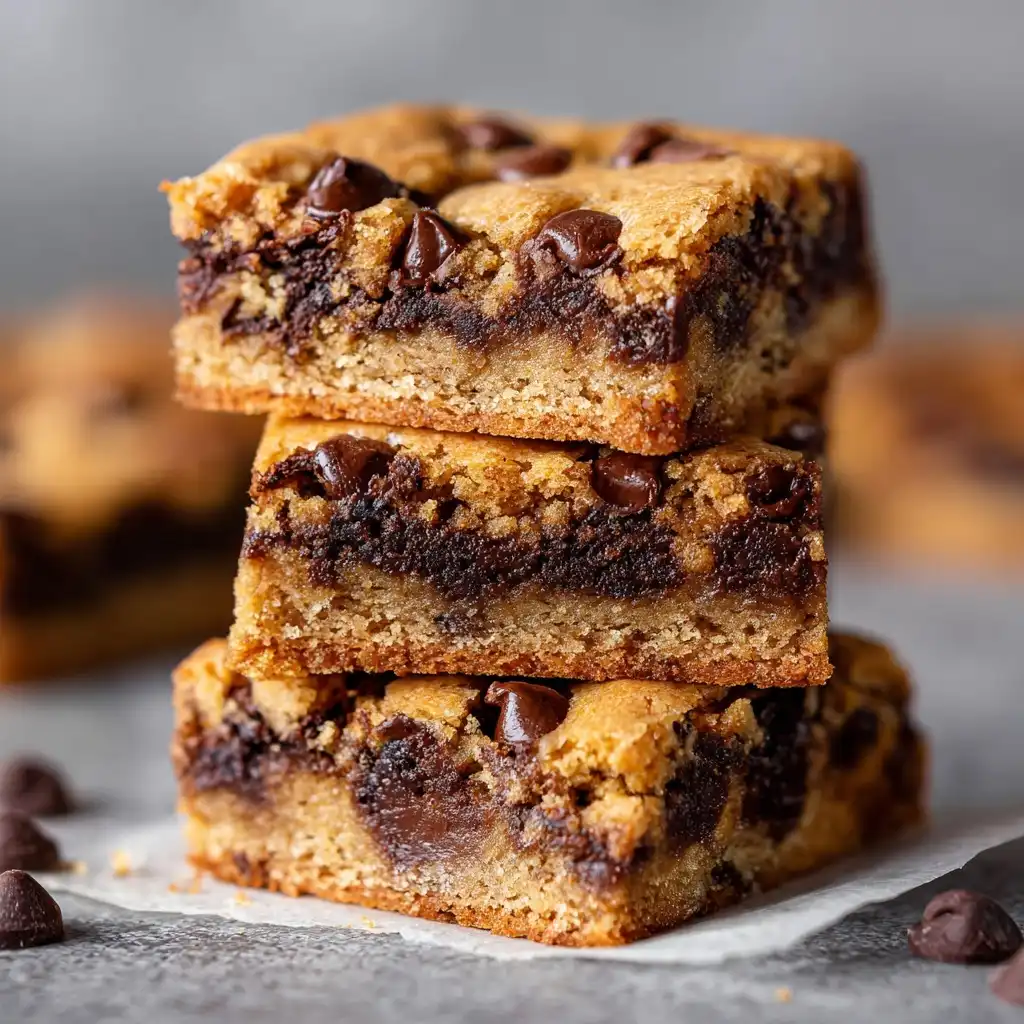
Thick Cookie Bars with Chocolate Chips are the ultimate indulgence—rich, chewy, buttery, and studded with generous pockets of melty chocolate chips. Unlike traditional drop cookies, these bars bake up uniformly dense and fudgy, with a beautifully crisp-edged exterior and a soft, gooey center that pulls apart in thick, satisfying slabs. Perfect for potlucks, school bake sales, office treats, or simply satisfying a late-night craving, they deliver all the nostalgic comfort of classic chocolate chip cookies—but with the convenience, portion control, and textural luxury of a bar cookie. Whether you’re a seasoned baker or a beginner looking for a foolproof, crowd-pleasing dessert, this recipe promises bakery-quality results every time—with minimal fuss and maximum flavor.
The History
The origins of cookie bars trace back to the early-to-mid 20th century, emerging alongside the rise of home baking innovations and the popularization of sheet pan desserts. As electric ovens became more reliable and standardized, home cooks began experimenting beyond individual drop cookies—seeking faster, more consistent, and less labor-intensive ways to feed families and gatherings. The iconic chocolate chip cookie itself was invented by Ruth Wakefield in 1938 at the Toll House Inn in Whitman, Massachusetts, when she substituted chopped Nestlé semi-sweet chocolate bars into her butter drop dough, expecting them to melt evenly—only to discover the magical, chunky texture that would define a generation of American sweets. Cookie bars evolved soon after, appearing in mid-century community cookbooks and women’s magazines like Good Housekeeping and Ladies’ Home Journal, where recipes were adapted for efficiency: pressed into pans, baked as one cohesive unit, and cut into uniform squares. Thick versions—baked in shallow 9×13-inch pans with increased batter depth or intentionally underbaked centers—gained popularity in the 1970s and ’80s, championed by brands like Betty Crocker and Pillsbury, who promoted “bar cookies” as ideal for entertaining and gift-giving. Today, Thick Cookie Bars with Chocolate Chips represent a beloved hybrid: honoring tradition while embracing modern preferences for decadent texture, visual appeal, and shareable simplicity.
Ingredients Breakdown
Every ingredient in this Thick Cookie Bars recipe plays a precise functional and sensory role—no element is arbitrary. Below is an in-depth breakdown of why each component matters:
- Unsalted Butter (1 cup / 2 sticks, room temperature): Provides richness, tenderness, and flakiness. Room temperature ensures proper creaming with sugar for optimal air incorporation—critical for lift and chew without cakeyness. Unsalted allows full control over sodium content.
- Granulated Sugar (¾ cup): Adds sweetness, aids in browning (via caramelization), and contributes to crisp edges and structural stability. Its finer crystals dissolve easily and support a denser crumb than brown sugar alone.
- Packed Light Brown Sugar (1 cup): Introduces molasses, which adds moisture, acidity (to activate baking soda), deep caramel notes, and chewiness. The “packed” method ensures consistency—loosely measured brown sugar yields drier, crumblier bars.
- Large Eggs (2, room temperature): Act as emulsifiers and binders, contributing structure, moisture, and richness. Room temperature eggs incorporate more smoothly into the batter, preventing separation and ensuring even texture.
- Pure Vanilla Extract (2 tsp): Enhances overall flavor complexity and rounds out sweetness. Real vanilla—not imitation—is essential for aromatic depth and warmth.
- All-Purpose Flour (2¾ cups, spooned & leveled): Provides gluten for structure—but too much leads to toughness. Spooning and leveling (not scooping) prevents over-measurement by up to 20%, which is crucial for thick, tender bars instead of dry bricks.
- Baking Soda (1 tsp): Reacts with the acid in brown sugar and buttermilk (if using variations) to create carbon dioxide, providing gentle lift and spread control—key for achieving height without puffiness.
- Finely Ground Sea Salt (1 tsp): Not just for seasoning—salt sharpens sweetness, balances fat, and strengthens gluten networks. Fine grind ensures even distribution; coarse salt may leave salty pockets.
- Classic Semi-Sweet Chocolate Chips (2 cups): High-quality chips (60–65% cacao) offer ideal melt resistance and rich, balanced bitterness. Mini chips distribute more evenly; standard chips create bold, gooey pockets. We recommend Guittard, Ghirardelli, or Callebaut for superior flavor and consistency.
- Optional Add-Ins: Toasted walnuts or pecans (1 cup, chopped), flaky sea salt sprinkled on top pre-bake, or a drizzle of melted dark chocolate post-cooling add nuance and contrast.
Note: Ingredient temperatures, measurement methods, and brand quality significantly impact final texture—this recipe is calibrated for precision, not approximation.
Step-by-Step Recipe
- Preheat & Prep: Position oven rack in the center. Preheat oven to 350°F (175°C). Grease a 9×13-inch metal baking pan *very generously* with unsalted butter or non-stick spray, then line bottom and long sides with two overlapping sheets of parchment paper, leaving 2-inch overhangs on both ends for easy lifting. Lightly grease parchment.
- Cream Butter & Sugars: In a large stand mixer fitted with paddle attachment (or large bowl with hand mixer), beat room-temperature butter, granulated sugar, and brown sugar on medium-high speed for 3–4 minutes until pale, fluffy, and completely homogenized—scraping bowl halfway. Mixture should hold soft peaks and have no graininess.
- Add Eggs & Vanilla: Add eggs one at a time, beating on medium speed for 45 seconds after each addition until fully incorporated and glossy. Beat in vanilla extract until combined—about 15 seconds. Batter will be smooth and slightly thickened.
- Whisk Dry Ingredients: In a separate medium bowl, whisk together flour, baking soda, and salt until fully aerated and lump-free—about 30 seconds. This step ensures even leavening and prevents salty or alkaline pockets.
- Incorporate Dry Mixture: Reduce mixer speed to low. Gradually add dry ingredients in three equal additions, mixing *just until no dry streaks remain* after each—approximately 15–20 seconds per addition. Overmixing develops excess gluten and yields tough, rubbery bars.
- Fold in Chocolate Chips: Using a flexible silicone spatula, gently fold in chocolate chips (and nuts, if using) until evenly distributed—about 25–30 folds. Avoid vigorous stirring to preserve batter integrity.
- Spread & Smooth: Immediately transfer batter to prepared pan. Use an offset spatula or the back of a greased spoon to spread evenly, pressing gently into corners. Smooth top surface—do not overwork. Optional: Sprinkle top with flaky sea salt (¼ tsp) for gourmet contrast.
- Bake Strategically: Bake for 32–38 minutes—timing varies by oven. Bars are done when edges are deeply golden and set, top is puffed and lightly cracked, and center *still looks soft and slightly underbaked* (a toothpick inserted 1 inch from edge should come out with moist crumbs—not wet batter—and center should jiggle minimally when gently shaken). Underbaking is intentional—bars continue to set as they cool.
- Cool Completely in Pan: Place pan on a wire rack. Cool for *at least 2 hours* at room temperature—do not rush. This step is non-negotiable: it allows residual heat to finish cooking the center, starches to set, and fats to re-solidify, yielding clean cuts and signature chew. For best texture, refrigerate cooled bars for 1 hour before slicing.
- Cut & Serve: Use a sharp, heavy chef’s knife wiped clean between cuts. Cut into 12–16 thick bars (depending on preference). Store covered at room temperature for up to 5 days—or freeze for up to 3 months.
Tips
- Chill the Batter (Optional but Recommended): After folding in chips, cover bowl and refrigerate batter for 30–60 minutes before spreading. Chilled batter spreads less, yields taller bars with denser crumb, and intensifies flavor development.
- Use Metal Pans Only: Glass or ceramic retains heat longer and causes overbaking at edges. Heavy-gauge aluminum or stainless steel ensures even conduction and clean release.
- Don’t Skip the Parchment: It prevents sticking, eliminates greasy residue on bars, and enables effortless removal—even from ultra-thick, gooey batches.
- Rotate the Pan Mid-Bake: At 20 minutes, rotate pan 180° for uniform browning—especially important in convection or older ovens with hot spots.
- Invest in an Oven Thermometer: Many ovens run 25–50°F off calibration. An accurate reading prevents burnt edges or raw centers.
- Measure Flour Correctly: Spoon flour into measuring cup, then level with straight edge. Scooping compacts flour and adds ~25% extra—guaranteeing dry, crumbly bars.
- Room Temperature Is Key: Cold butter won’t cream properly; cold eggs cause curdling. Let ingredients sit 60–90 minutes before starting—or use the “float test”: butter should yield slightly under gentle finger pressure; eggs should feel neutral (not cool) when held.
- Underbake With Confidence: The center should look *deliberately underdone*. It firms up dramatically during cooling—this is how you achieve that legendary fudgy-thick texture.
- Warm Your Knife Before Slicing: Dip knife in hot water, dry thoroughly, then slice. Repeat for each cut—ensures smooth, clean edges without dragging or crumbling.
- Freeze for Freshness: Wrap individual bars tightly in plastic wrap, then place in freezer bag. Thaw at room temperature for 20 minutes—or enjoy straight from freezer for a cool, dense treat.
Variations and Customizations
This foundational recipe is endlessly adaptable—without sacrificing its signature thickness or chew. Here are tested, chef-approved variations:
- Double Chocolate Chip: Replace ¼ cup flour with unsweetened cocoa powder (Dutch-process preferred) and add ½ cup dark chocolate chunks for intense, layered chocolate flavor.
- Oatmeal Chocolate Chip: Fold in 1½ cups old-fashioned rolled oats (not instant) with chips—adds heartiness, subtle nuttiness, and chewy bite. Reduce flour to 2¼ cups.
- Peanut Butter Swirl: After spreading batter, dollop ½ cup creamy peanut butter over top and drag a knife through in figure-eights for marbling. Adds salty-sweet depth and textural intrigue.
- White Chocolate Macadamia: Swap semi-sweet chips for high-quality white chocolate chips and toasted macadamia nuts (1 cup). Add ½ tsp almond extract with vanilla for harmony.
- Gluten-Free: Substitute 2¾ cups certified GF 1:1 baking blend (like King Arthur or Bob’s Red Mill) + 1 tsp xanthan gum. Ensure all other ingredients (chips, baking soda, etc.) are GF-certified.
- Vegan: Use vegan butter (Miyoko’s or Earth Balance), flax eggs (2 tbsp ground flax + 6 tbsp water, rested 10 mins), and dairy-free chocolate chips. Add 1 tbsp apple cider vinegar to batter to react with baking soda.
- Sea Salt & Dark Chocolate: Use 70% dark chocolate chips, omit brown sugar, increase granulated sugar to 1¼ cups, and finish with Maldon sea salt flakes.
- Espresso Chocolate Chip: Dissolve 1½ tsp instant espresso powder in vanilla extract before adding. Enhances chocolate flavor without tasting “coffee-like.”
- Spiced Snickerdoodle Bars: Add 1½ tsp ground cinnamon + ¼ tsp ground nutmeg to dry ingredients; roll top in cinnamon-sugar before baking.
- Cookie Dough Stuffed Bars: Press half batter into pan, layer with 1 cup edible cookie dough (egg-free, heat-treated flour), top with remaining batter, and swirl gently with a knife.
Health Considerations and Nutritional Value
While Thick Cookie Bars with Chocolate Chips are a dessert—not a health food—they can be enjoyed mindfully and even elevated with thoughtful tweaks. A standard 2×2-inch bar (based on 16 servings per 9×13 pan) contains approximately:
- Calories: 285–310 kcal
- Total Fat: 15–17 g (9–10 g saturated)
- Carbohydrates: 36–39 g (24–26 g sugars)
- Protein: 3–4 g
- Fiber: 0.8–1.2 g (increases with oats, nuts, or whole wheat flour)
- Sodium: 180–220 mg
Nutritional Highlights & Modifications:
- Chocolate Benefits: Dark chocolate chips (>65% cacao) provide flavonoids, antioxidants, and magnesium. Opting for high-cocoa chips boosts polyphenol content without added sugar.
- Healthy Fats: Butter contains butyrate and fat-soluble vitamins (A, D, E, K). Grass-fed butter adds conjugated linoleic acid (CLA) and omega-3s.
- Reducing Refined Sugar: Substitute up to ¼ cup brown sugar with coconut sugar (lower glycemic index) or replace ⅓ of granulated sugar with monk fruit–erythritol blend (1:1 ratio, zero-calorie).
- Boosting Nutrition: Add 2 tbsp ground flaxseed or chia seeds for omega-3s and fiber; stir in ¼ cup wheat germ for B vitamins and zinc; or swap ½ cup flour for almond flour for extra protein and healthy fats.
- Dietary Accommodations: Gluten-free, vegan, and lower-sugar versions maintain structural integrity when substitutions follow tested ratios—see Variations section for details.
- Mindful Enjoyment: Pair a bar with Greek yogurt or a handful of almonds to slow sugar absorption and increase satiety. Savor slowly—each bar is rich enough to satisfy in small portions.
Always consult a registered dietitian for personalized guidance—especially for diabetes management, celiac disease, or food sensitivities.
Ingredients
- 1 cup (2 sticks / 227g) unsalted butter, room temperature
- ¾ cup (150g) granulated sugar
- 1 cup (200g) packed light brown sugar
- 2 large eggs, room temperature
- 2 teaspoons pure vanilla extract
- 2¾ cups (345g) all-purpose flour, spooned & leveled
- 1 teaspoon baking soda
- 1 teaspoon fine sea salt
- 2 cups (340g) semi-sweet chocolate chips (60–65% cacao)
- Optional: Flaky sea salt for topping
Directions
- Preheat oven to 350°F (175°C). Grease a 9×13-inch metal baking pan and line with parchment paper, leaving overhangs on two opposite sides.
- In a stand mixer with paddle attachment, beat butter, granulated sugar, and brown sugar on medium-high for 3–4 minutes until light, fluffy, and pale.
- Add eggs one at a time, beating 45 seconds after each. Beat in vanilla until combined.
- In a separate bowl, whisk together flour, baking soda, and salt.
- Reduce mixer speed to low. Gradually add dry ingredients in three parts, mixing just until no flour streaks remain.
- Fold in chocolate chips with a silicone spatula until evenly distributed.
- Spread batter into prepared pan. Smooth top. Sprinkle with flaky salt, if desired.
- Bake 32–38 minutes, until edges are golden and set, top is puffed and cracked, and center jiggles only slightly when nudged.
- Cool completely in pan on a wire rack—minimum 2 hours. For cleanest cuts, refrigerate 1 hour before slicing.
- Use a warm, sharp knife to cut into 12–16 thick bars. Store covered at room temperature up to 5 days.
FAQ
- Why did my bars turn out cakey instead of chewy?
- Most commonly due to overmixing after adding flour, using cold eggs/butter, or overbaking. Ensure ingredients are truly room temperature, mix dry ingredients in *just* until incorporated, and pull bars from oven while center still appears soft.
- Can I make these ahead and freeze?
- Absolutely. Cool completely, wrap tightly in plastic wrap, then place in a freezer-safe bag. Freeze up to 3 months. Thaw wrapped at room temperature for 30–45 minutes—or enjoy chilled for a denser, fudgier bite.
- My bars stuck to the pan—even with parchment!
- Parchment must be *greased*, especially if using darker chocolate chips (higher sugar content = stickier residue). Also ensure you’re using *unbleached* parchment—it withstands higher heat without degrading.
- Can I use a different pan size?
- For thicker bars: Use an 8×8-inch pan—reduce bake time to 28–34 minutes and check early. For thinner bars: Try a 10×15-inch jelly roll pan—bake 24–28 minutes. Never substitute glass or ceramic without reducing oven temp by 25°F and extending time.
- What if I don’t have brown sugar?
- You can make your own: Mix 1 cup granulated sugar + 1 tbsp molasses. For lighter flavor, use 1½ tsp molasses. Do not omit—brown sugar’s moisture and acidity are critical for chew and rise.
- Why do you recommend chilling the batter?
- Chilling solidifies butter, slowing spread during initial bake—yielding taller, denser bars. It also enhances flavor melding and reduces greasiness by allowing flour to fully hydrate.
- Can I add nuts without changing texture?
- Yes—1 cup finely chopped toasted walnuts, pecans, or almonds add crunch and richness. Toast first to deepen flavor and remove moisture (prevents sogginess). Fold in with chips.
- How do I prevent chocolate chips from sinking?
- Toss chips in 1 tbsp of the measured flour before folding in. This light coating helps them suspend evenly throughout the thick batter.
- Are these bars suitable for mailing or gifting?
- Yes! Layer bars between parchment in an airtight tin or box. Include a silica gel packet if shipping >2 days in warm weather. They stay moist and travel well for up to 1 week.
- Can I double the recipe?
- Not recommended in one batch—creaming and mixing become inconsistent. Instead, make two separate batches using identical equipment and oven positioning for uniform results.
Summary
Thick Cookie Bars with Chocolate Chips deliver irresistible, bakery-style decadence in every dense, chewy, golden-edged square—achieved through precise creaming, controlled flour incorporation, strategic underbaking, and patient cooling. With endless customization options, mindful nutrition upgrades, and foolproof techniques, they’re as versatile as they are beloved.
Whether you crave nostalgia, convenience, or showstopping texture, these bars prove that extraordinary flavor and remarkable thickness don’t require complexity—just care, craftsmanship, and the right chocolate chips.