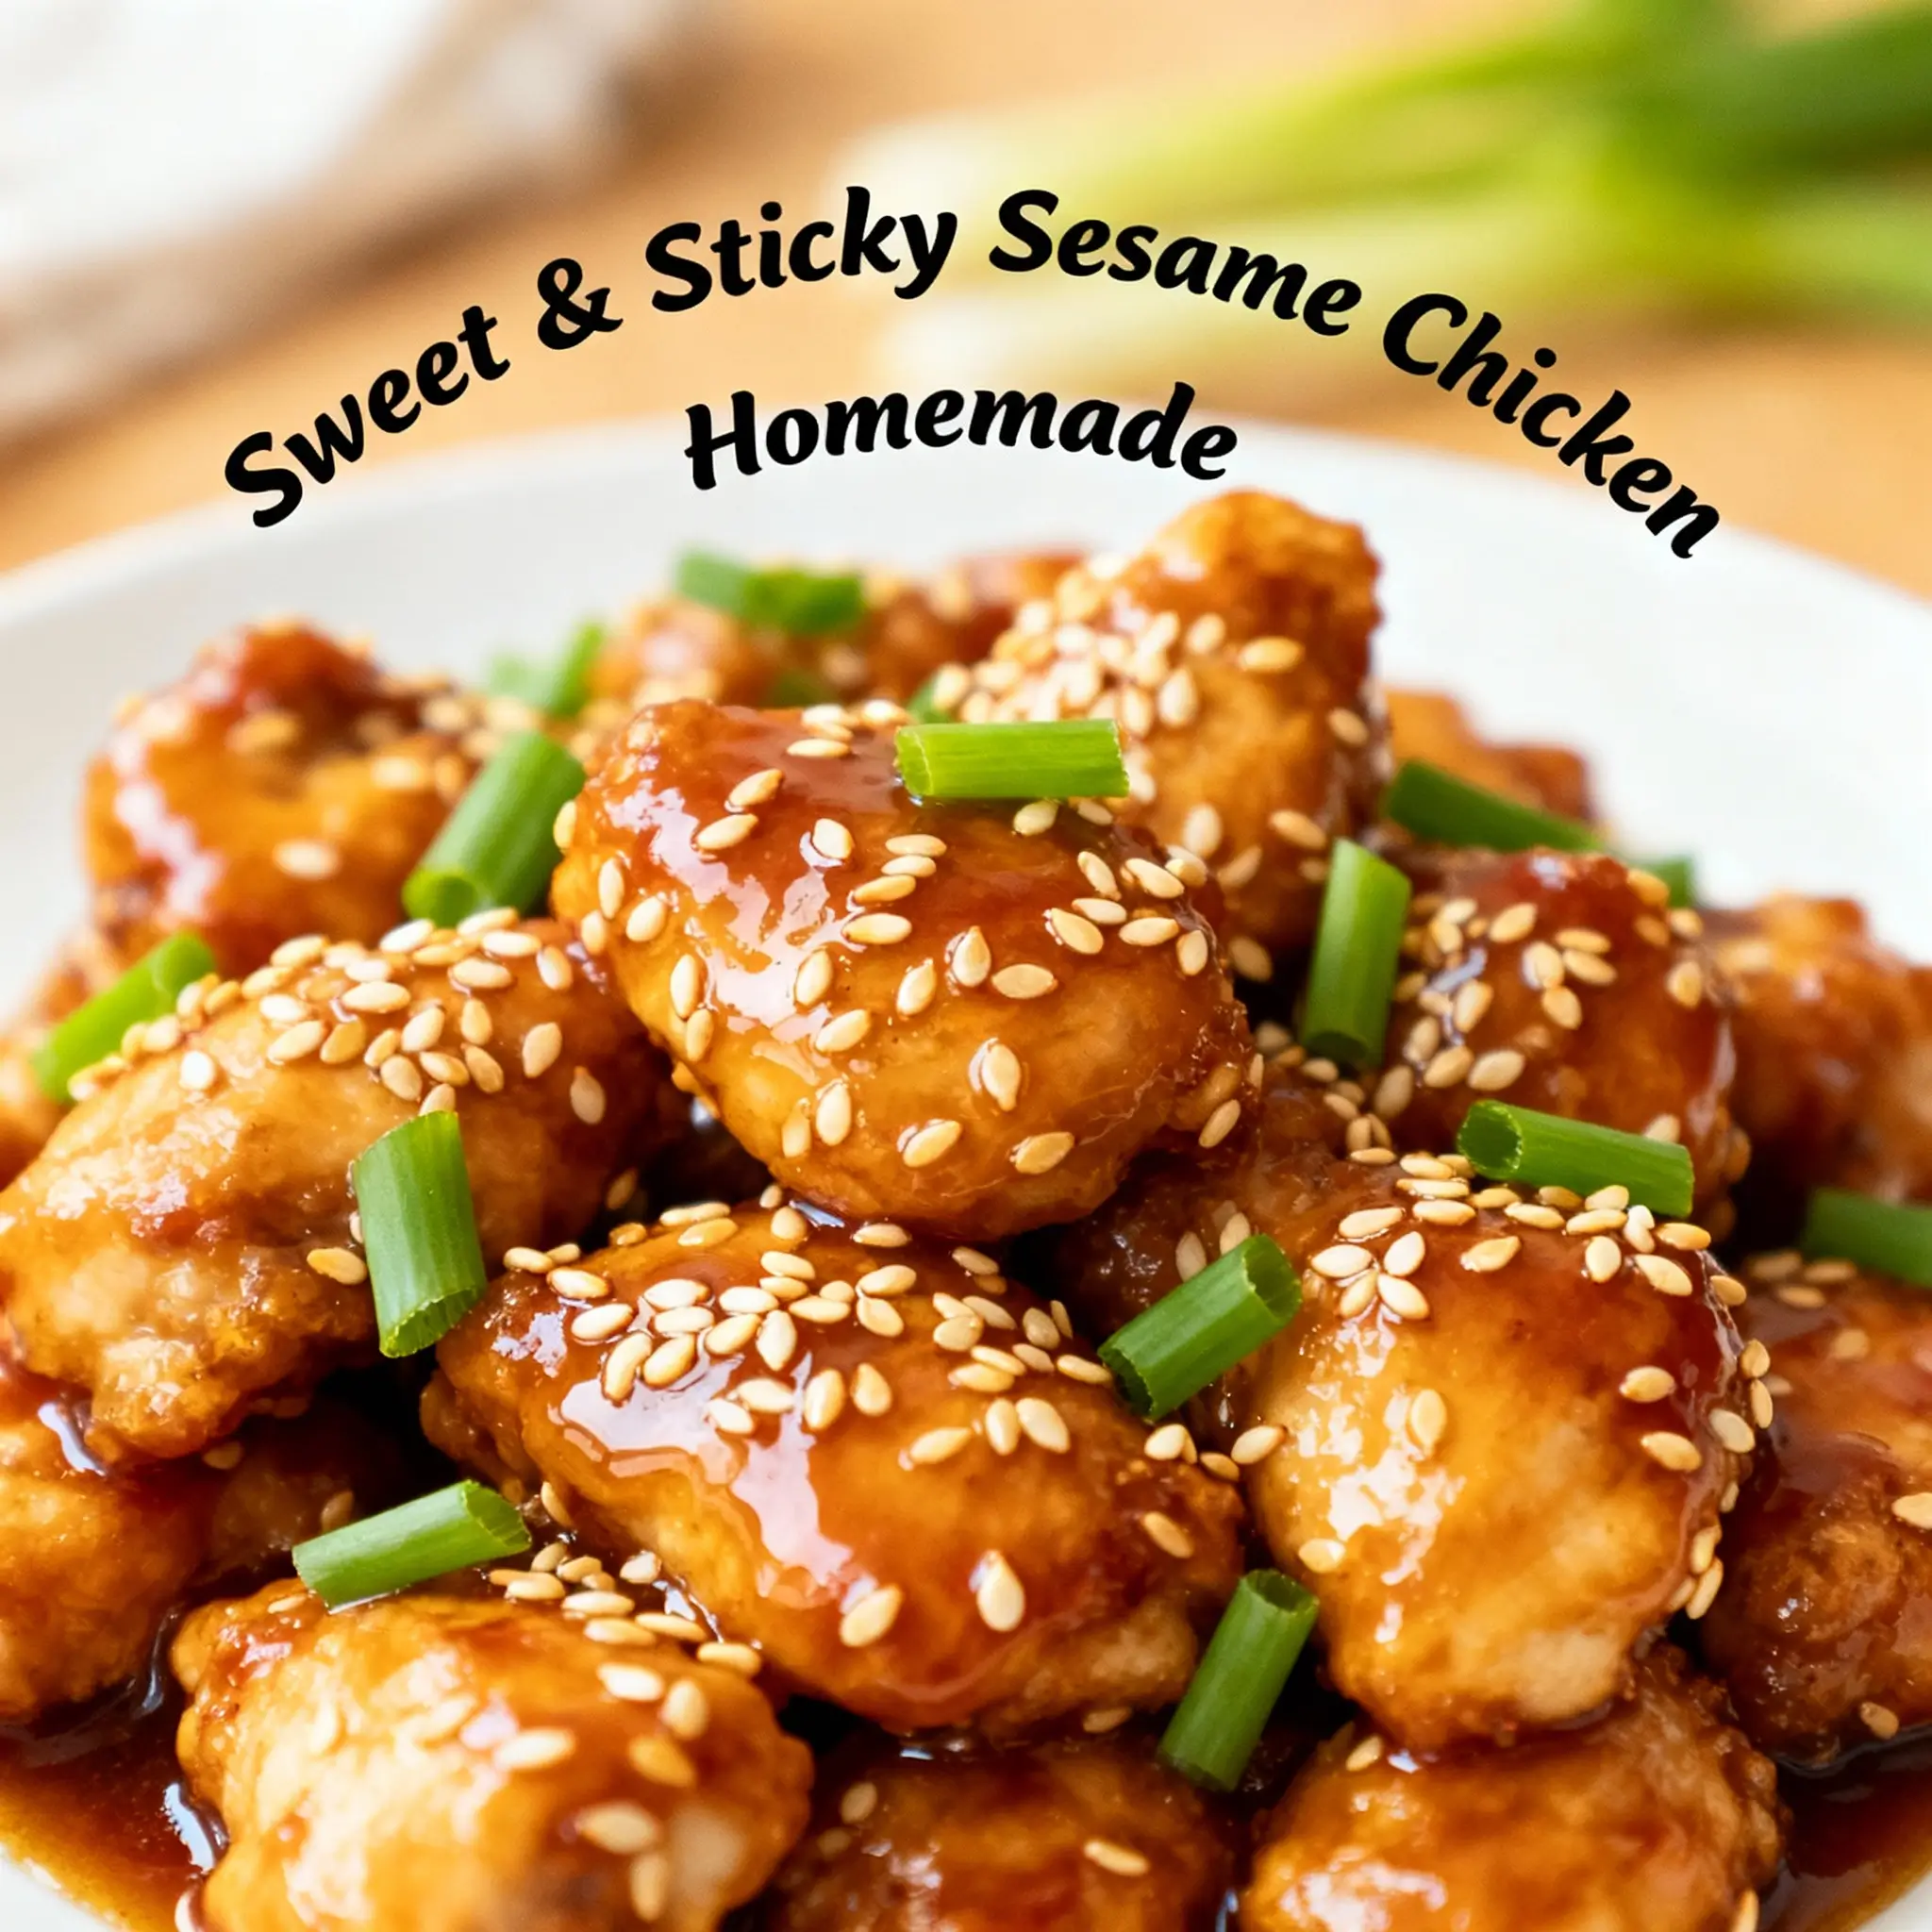
Sweet & Sticky Sesame Chicken
If you’re a fan of bold flavors, tender chicken, and that irresistible glossy glaze that clings to every bite, then Sweet & Sticky Sesame Chicken is the dish for you. A beloved staple in American-Chinese cuisine, this recipe brings together the perfect balance of sweet, savory, and umami-rich flavors. It’s the kind of meal that feels indulgent yet can be made at home with simple ingredients, making it ideal for weeknight dinners or weekend feasts. With its glossy sauce, aromatic sesame seeds, and vibrant colors, this dish doesn’t just taste amazing—it looks stunning on any plate.
The History of Sweet & Sticky Sesame Chicken
While traditional Chinese cuisine features many stir-fried meat dishes, Sweet & Sticky Sesame Chicken as we know it today originated in North American Chinese restaurants during the late 20th century. It evolved from classic dishes like Gu Lao Ji (Sweet and Sour Chicken) and Chun Beng Ji (Orange Chicken), but was adapted to suit Western palates by increasing sweetness and adding rich, sticky sauces.
The use of sesame oil and toasted sesame seeds gives the dish its signature nutty aroma and visual appeal, while cornstarch coating ensures the chicken stays crispy even after being drenched in sauce. Over time, home cooks and chefs alike began experimenting with honey, brown sugar, soy sauce, garlic, and ginger—crafting the now-iconic flavor profile that defines this dish. Today, variations of this recipe are found across the globe, often served over steamed rice or alongside crisp vegetables for a complete meal.
Ingredients Breakdown
Understanding each ingredient helps elevate your cooking. Here’s a detailed look at what goes into creating the perfect Sweet & Sticky Sesame Chicken:
- Chicken Breast or Thighs: Boneless, skinless chicken breasts offer a lean option, while thighs provide more moisture and tenderness due to their higher fat content.
- Cornstarch: This is essential for creating a light, crispy crust when frying. It also acts as a thickening agent in the sauce.
- Eggs: Used to coat the chicken before dredging in cornstarch, helping the coating adhere better.
- Vegetable Oil: A neutral oil with a high smoke point, ideal for frying without overpowering flavors.
- Soy Sauce (Low Sodium Preferred): Adds saltiness and depth. Tamari works well for gluten-free versions.
- Honey: Provides natural sweetness and contributes to the glossy texture of the sauce.
- Brown Sugar: Enhances caramelization and adds molasses-like richness.
- Rice Vinegar: Balances the sweetness with a mild tanginess and brightens the overall flavor.
- Garlic & Ginger: Freshly minced for maximum aroma and zesty warmth—non-negotiable for authentic taste.
- Sesame Oil: A small amount adds intense nuttiness; best added at the end to preserve its delicate flavor.
- Toasted Sesame Seeds: For garnish and crunch—white or black sesame seeds work beautifully.
- Green Onions: Sliced diagonally for color, freshness, and mild onion flavor.
- Water or Chicken Broth: Helps thin the sauce slightly and distribute flavors evenly.
- Red Pepper Flakes (optional): For those who enjoy a hint of heat.
Optional additions: Pineapple chunks (for tropical twist), bell peppers, carrots, or broccoli to make it a full stir-fry.
Step-by-Step Recipe
Follow these detailed steps to achieve restaurant-quality Sweet & Sticky Sesame Chicken at home:
- Prepare the Chicken: Cut 1.5 lbs (about 680g) of boneless chicken into 1-inch cubes. Pat dry with paper towels to ensure proper breading.
- Coat the Chicken: In one bowl, whisk 1 large egg. In another, place ½ cup cornstarch. Dip each piece of chicken first into the egg, letting excess drip off, then into the cornstarch, pressing gently to coat all sides. Shake off excess and set aside on a plate.
- Fry the Chicken: Heat ½ inch of vegetable oil in a deep skillet or wok over medium-high heat (350°F / 175°C). Fry chicken in batches for 3–4 minutes per batch until golden brown and cooked through. Avoid overcrowding. Remove with a slotted spoon and drain on a wire rack or paper towels. Let rest while preparing the sauce.
- Make the Sauce: In a clean saucepan, combine ¼ cup low-sodium soy sauce, ¼ cup honey, 2 tablespoons brown sugar, 2 tablespoons rice vinegar, 2 cloves minced garlic, 1 tablespoon grated fresh ginger, ½ cup water or broth, and a pinch of red pepper flakes (if using). Stir well and bring to a simmer over medium heat.
- Thicken the Sauce: In a small bowl, mix 1 tablespoon cornstarch with 2 tablespoons cold water to make a slurry. Slowly pour into the simmering sauce while stirring constantly. Cook for 2–3 minutes until the sauce thickens to a glossy, syrupy consistency.
- Add Sesame Oil: Remove sauce from heat and stir in 1 teaspoon toasted sesame oil for fragrance.
- Toss the Chicken: Return the fried chicken pieces to a clean pan or wok. Pour the hot sauce over them and gently toss until every piece is evenly coated.
- Garnish and Serve: Transfer to a serving platter. Sprinkle generously with toasted sesame seeds and sliced green onions. Serve immediately with steamed jasmine rice, quinoa, or cauliflower rice.
Tips for Perfect Results
- Don’t Skip the Cornstarch Coating: It creates the signature crisp exterior that holds up against the sticky sauce.
- Fry in Batches: Overcrowding lowers the oil temperature and leads to soggy chicken. Keep cooked pieces warm in a 200°F (95°C) oven if needed.
- Use Fresh Garlic and Ginger: Pre-minced versions lack the punch and brightness of freshly prepared ones.
- Balance the Sweetness: Taste the sauce before adding chicken. If too sweet, add a splash of rice vinegar. If too salty, add a bit more honey or brown sugar.
- Double the Sauce (Optional): If serving over rice or wanting extra sauciness, increase sauce ingredients by 50%.
- For Crispier Texture: After frying, place chicken under the broiler for 1–2 minutes before tossing with sauce—this re-crisps the outside.
- Reserve Some Garnishes: Add half the sesame seeds and green onions after tossing, and the other half just before serving for maximum visual impact.
Variations and Customizations
This recipe is highly adaptable. Try these creative twists:
- Gluten-Free Version: Use tamari instead of soy sauce and ensure cornstarch is certified gluten-free.
- Keto-Friendly Option: Replace honey and brown sugar with sugar-free substitutes like monk fruit syrup or allulose. Use almond flour mixed with a little erythritol for coating.
- Baked Instead of Fried: For a lighter version, coat chicken in cornstarch and spray with oil. Bake at 400°F (200°C) for 20–25 minutes, flipping halfway, until golden and cooked through.
- Spicy Sesame Chicken: Add 1–2 teaspoons of sriracha or chili garlic sauce to the sauce mixture. Top with extra red pepper flakes or sliced fresh chilies.
- Pineapple Sesame Chicken: Add 1 cup of drained canned pineapple chunks during the last minute of tossing. The acidity balances the sweetness beautifully.
- Veggie-Packed Stir-Fry: Sauté sliced bell peppers, broccoli florets, snap peas, or carrots before adding the sauce. Toss everything with the chicken for a colorful, nutritious meal.
- Teriyaki-Inspired Twist: Replace half the honey with mirin and add a splash of sake to the sauce for a Japanese flair.
- Slow Cooker Method: Prepare sauce and pour over raw chicken in the slow cooker. Cook on low for 4 hours. Coat chicken in cornstarch and fry separately; toss together before serving.
Health Considerations and Nutritional Value
Sweet & Sticky Sesame Chicken can be part of a balanced diet when enjoyed in moderation. Here’s a breakdown per serving (based on 4 servings, including ¾ cup rice):
- Calories: ~450–550 kcal
- Protein: ~30g (excellent source from chicken)
- Carbohydrates: ~50–60g (mainly from sugar, cornstarch, and rice)
- Fats: ~15–20g (mostly unsaturated from oil and sesame)
- Sodium: ~800–1000mg (can be reduced by using low-sodium soy sauce and limiting added salt)
- Sugars: ~25–30g (primarily from honey and brown sugar)
Nutritional Highlights:
- Rich in protein for muscle repair and satiety.
- Sesame seeds contribute healthy fats, calcium, magnesium, and antioxidants.
- Fresh garlic and ginger have anti-inflammatory and immune-boosting properties.
Considerations:
- High in refined sugars and carbohydrates—best paired with fiber-rich sides like steamed vegetables.
- Frying increases fat content; baking or air-frying reduces calories significantly.
- Monitor sodium intake if you’re on a heart-healthy or low-sodium diet.
- Diabetics should adjust sweeteners and portion sizes accordingly.
Full Ingredient List
For the Chicken:
- 1.5 lbs (680g) boneless, skinless chicken breasts or thighs, cut into 1-inch cubes
- 1 large egg, beaten
- ½ cup cornstarch
- ½ cup vegetable oil (or enough for shallow frying)
For the Sauce:
- ¼ cup low-sodium soy sauce (or tamari for gluten-free)
- ¼ cup honey (or maple syrup for vegan option)
- 2 tablespoons packed brown sugar
- 2 tablespoons rice vinegar
- 2 cloves garlic, minced
- 1 tablespoon fresh ginger, grated
- ½ cup water or low-sodium chicken broth
- 1 teaspoon toasted sesame oil
- 1 tablespoon cornstarch + 2 tablespoons water (slurry)
- Pinch of red pepper flakes (optional)
For Garnish:
- 2–3 green onions, thinly sliced
- 2 tablespoons toasted sesame seeds (white or black)
Directions
- Prep Chicken: Cut chicken into uniform cubes. Pat dry and set aside.
- Dredge: Beat egg in a shallow bowl. Place cornstarch in another. Dip each chicken piece into egg, then coat thoroughly with cornstarch. Shake off excess.
- Fry: Heat oil in a heavy-bottomed skillet or wok over medium-high heat. Test with a small piece of coated chicken—if it sizzles immediately, it’s ready. Fry in batches for 3–4 minutes, turning occasionally, until golden and internal temperature reaches 165°F (74°C). Drain on paper towels.
- Make Sauce: In a saucepan, combine soy sauce, honey, brown sugar, rice vinegar, garlic, ginger, water/broth, and red pepper flakes. Bring to a gentle simmer over medium heat.
- Thicken: Whisk cornstarch and water into a smooth slurry. Gradually stir into the simmering sauce. Cook 2–3 minutes until thickened and glossy.
- Finish: Remove from heat. Stir in sesame oil.
- Combine: In a large bowl or cleaned pan, add fried chicken. Pour hot sauce over and gently toss to coat every piece.
- Serve: Plate immediately. Top with green onions and sesame seeds. Serve with rice or noodles.
Frequently Asked Questions (FAQ)
Can I make this ahead of time?
Yes! Fry the chicken and store it in the fridge for up to 2 days. Reheat in the oven at 375°F (190°C) for 10 minutes. Make the sauce fresh and toss just before serving for best texture.
Can I freeze Sweet & Sticky Sesame Chicken?
It’s not recommended to freeze after saucing, as the texture becomes mushy. However, you can freeze uncooked battered chicken or cooked plain chicken for up to 3 months. Thaw and fry or reheat before saucing.
How do I reheat leftovers?
Reheat in a skillet over medium heat to restore crispness. Avoid microwaving alone—use microwave briefly, then finish in a toaster oven or air fryer.
Is there a dairy-free version?
Yes! This recipe is naturally dairy-free. Just ensure all ingredients (especially soy sauce) are checked for hidden dairy derivatives if allergies are a concern.
Can I use an air fryer?
Absolutely! Spray coated chicken with oil and cook at 375°F (190°C) for 12–15 minutes, flipping halfway. Then toss with sauce.
Why is my sauce too thin/thick?
Too thin? Simmer longer or add more slurry (1 tsp cornstarch + 1 tbsp water). Too thick? Whisk in a few teaspoons of warm water or broth until desired consistency.
Can I use chicken wings instead?
Yes! This method works great for wings. Adjust cooking time to 8–10 minutes per batch for full crispiness.
What sides go well with this dish?
Steamed jasmine rice, coconut rice, lo mein noodles, fried rice, or cauliflower rice. Pair with stir-fried bok choy, broccoli, or a cucumber salad for freshness.
Summary
Sweet & Sticky Sesame Chicken combines crispy, golden chicken with a rich, glossy sauce bursting with honey, garlic, ginger, and sesame flavors. Easy to customize and perfect for family dinners or entertaining, it delivers bold taste in every bite.