Sweet Shop Lollipop Cake
Introduction
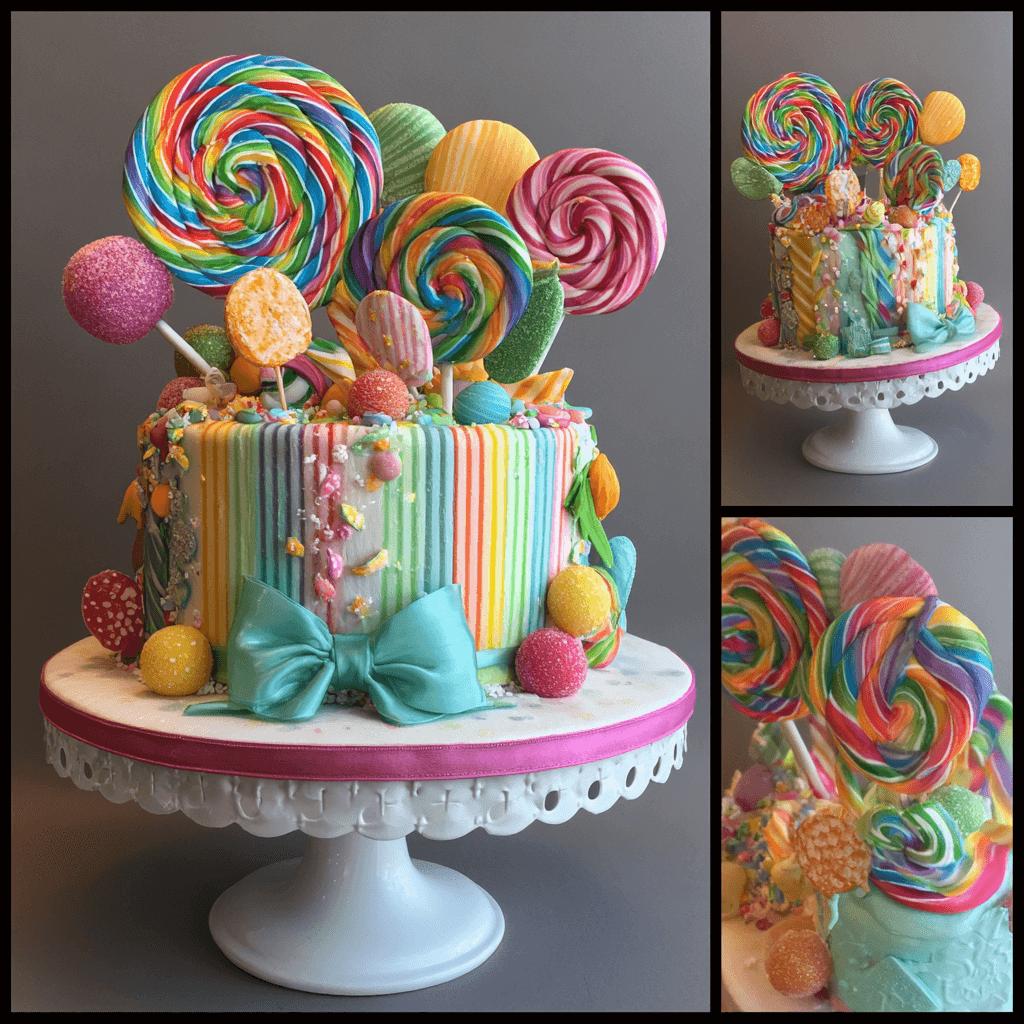
The Sweet Shop Lollipop Cake is a whimsical and vibrant dessert that combines the fun of lollipops with the rich indulgence of a beautifully decorated cake. Perfect for birthdays, baby showers, or any celebration where you want to bring a smile to your guests’ faces, this cake not only looks stunning but also offers layers of flavor and texture that will delight anyone’s taste buds. Whether you’re an experienced baker or just starting out, this recipe will guide you through creating a show-stopping centerpiece that’s as delicious as it is eye-catching.
The History
Lollipops have been around for over a century, with their modern incarnation popularized in the 1930s by George Smith, who named them after a horse. The idea of incorporating lollipops into cakes, however, is a more recent trend, made popular by creative bakers and decorators on social media platforms like Pinterest and Instagram. The Lollipop Cake has become a favorite among party planners and DIY enthusiasts alike due to its versatility and visual appeal, making it a go-to project for those who love combining confectionery art with classic baking.
Ingredients Breakdown
- For the Cake:
- 2 cups all-purpose flour
- 1 1/2 teaspoons baking powder
- 1/2 teaspoon baking soda
- 1/4 teaspoon salt
- 1 cup unsalted butter, softened
- 1 1/2 cups granulated sugar
- 2 large eggs
- 2 teaspoons vanilla extract
- 1 cup whole milk
- For the Frosting:
- 1 cup unsalted butter, softened
- 4 cups powdered sugar
- 2–3 tablespoons heavy cream or milk
- 2 teaspoons vanilla extract
- Few drops of food coloring (optional)
- For Decoration:
- Colorful lollipops (variety of flavors and colors)
- Mini candy-coated chocolates
- Gummy bears or other small candies
- Edible glitter or sprinkles
- Cake board or stand (covered with foil or fondant for presentation)
Step-by-Step Recipe
- Preheat your oven to 350°F (175°C). Grease and flour two 9-inch round cake pans.
- In a medium bowl, sift together the flour, baking powder, baking soda, and salt. Set aside.
- In a separate large bowl, beat the butter and sugar together until light and fluffy.
- Add the eggs one at a time, mixing well after each addition. Stir in the vanilla extract.
- Gradually add the dry ingredients to the wet mixture, alternating with the milk, beginning and ending with the dry ingredients. Mix until just combined.
- Pour the batter into the prepared pans and bake for 25–30 minutes or until a toothpick inserted in the center comes out clean.
- Allow the cakes to cool completely before frosting.
- While the cakes are cooling, prepare the frosting by beating the butter until creamy. Gradually add the powdered sugar, followed by the cream or milk and vanilla extract. Add food coloring if desired and mix until smooth and spreadable.
- Place one cake layer on your serving board and spread a thick layer of frosting on top. Place the second cake layer on top and frost the entire cake with a crumb coat. Chill for 15 minutes, then apply a final, smooth layer of frosting.
- Arrange the lollipops evenly around the top and sides of the cake, pressing them gently into the frosting to secure them. Decorate with candies, sprinkles, and edible glitter as desired.
Tips
- Use sturdy lollipops with firm sticks to ensure they hold up in the cake.
- If you’re using a tiered cake, make sure to insert cake dowels for support under the top layer.
- Refrigerate the cake briefly before adding decorations to set the frosting and help keep everything in place.
- Store the cake in a cool, dry place to prevent melting or softening of the candies.
Variations and Customizations
- Theme Cakes: Match the lollipop colors and candies to holidays or events—think red and green for Christmas, pastels for Easter, or bright colors for birthdays.
- Flavor Varieties: Make different flavored cake layers such as chocolate, lemon, or strawberry and pair with complementary frostings.
- Diet-Friendly Options: Substitute gluten-free flour and use alternative sweeteners in both cake and frosting for dietary restrictions.
- Kids’ Involvement: Let children help with decorating—let them choose the candies and arrange the lollipops for a personal touch.
Health Considerations and Nutritional Value
While the Sweet Shop Lollipop Cake is undeniably indulgent, it’s best enjoyed in moderation. A typical slice can range between 300–500 calories depending on portion size and frosting amount. To reduce fat and sugar content, consider using reduced-fat butter, low-fat milk, and natural sweeteners like stevia in place of some sugar. For a healthier twist, replace half the flour with almond flour and add mashed bananas or applesauce to increase moisture while reducing oil and butter content. As always, balance with fresh fruit or a side of yogurt for a more wholesome treat.
Ingredients
Cake: Flour, baking powder, baking soda, salt, butter, sugar, eggs, vanilla extract, milk
Frosting: Butter, powdered sugar, cream/milk, vanilla extract, food coloring
Decorations: Assorted lollipops, candies, sprinkles
Directions
- Preheat oven and prepare pans.
- Mix dry ingredients separately from wet ones.
- Combine and alternate with milk.
- Bake, cool, and frost once fully cooled.
- Decorate creatively with lollipops and candies.
FAQ
Can I make this cake ahead of time? Yes! You can bake the layers up to two days in advance and store them wrapped tightly at room temperature. Frost and decorate the day before serving.
How long does the cake stay fresh? Stored in a sealed container or under a cake dome, the lollipop cake stays fresh for up to 3 days at room temperature.
Can I freeze the cake? Yes, unfrosted cake layers can be frozen for up to 2 months. Thaw completely before frosting and decorating.
What if the lollipops start to melt? Keep the cake in a cool, dry area. Avoid direct sunlight or heat sources to prevent melting.
Summary
The Sweet Shop Lollipop Cake is a colorful, fun, and flavorful dessert perfect for any celebration. Easy to customize and packed with visual charm, it’s sure to impress kids and adults alike.