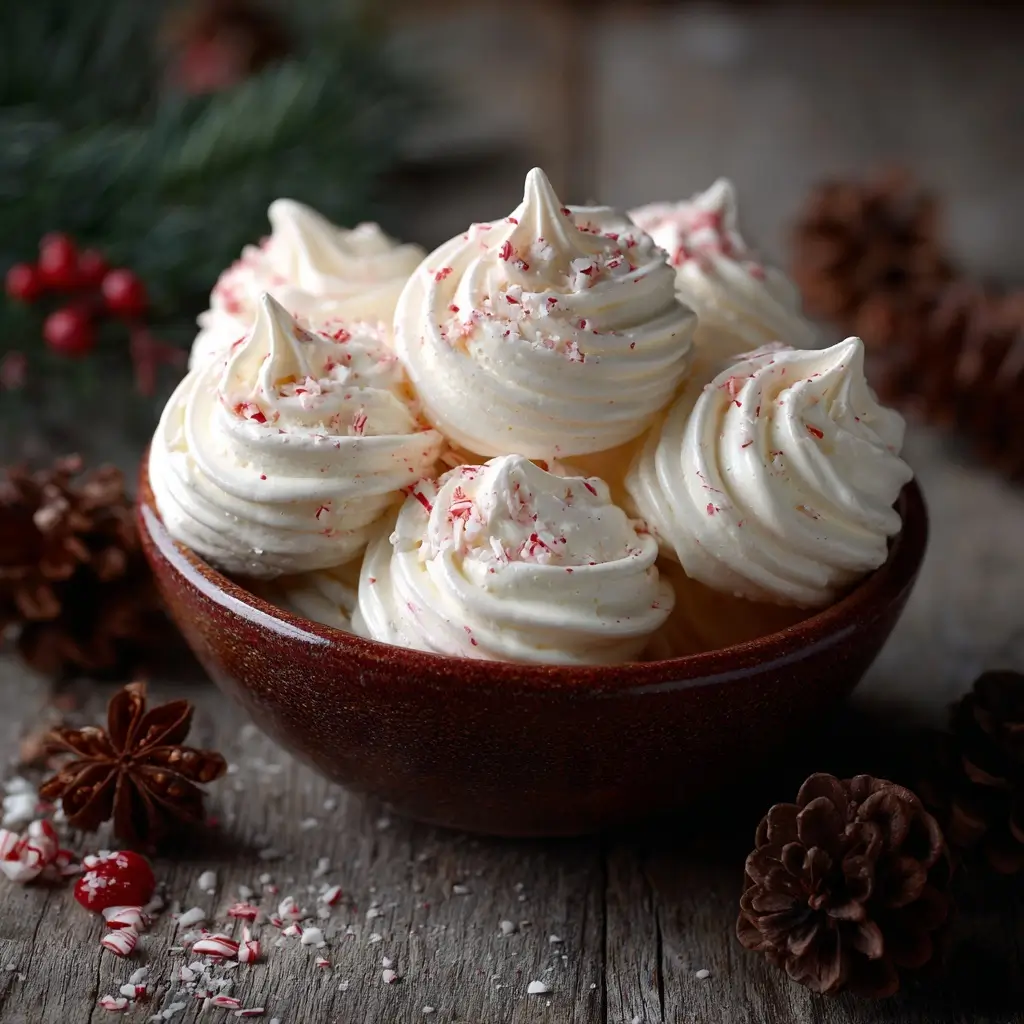
Peppermint Meringues are a delightful confection that combines the light, airy texture of classic meringue with the cool, refreshing taste of peppermint. These crisp, melt-in-your-mouth cookies are perfect for holiday gatherings, dessert tables, or as sweet little gifts during the winter season. With their snowy white appearance and festive red or pink swirls, they not only taste heavenly but also add a cheerful touch to any occasion. Whether you’re an experienced baker or trying your hand at meringues for the first time, this recipe offers both elegance and simplicity in every bite.
The History of Peppermint Meringues
Meringues have a long and somewhat debated history, believed to have originated either in Switzerland, France, or Italy as early as the 17th century. The word “meringue” was first documented in a Swiss cookbook in 1725, though similar desserts existed in French and Italian cuisines under different names. Traditional meringues were made simply from whipped egg whites and sugar, often baked until crisp on the outside and chewy within.
Over time, bakers began experimenting with flavors and colors, leading to variations such as chocolate, lemon, and fruit-infused meringues. The addition of peppermint flavoring likely emerged during the 19th or 20th century, particularly popularized in Western countries during the Christmas season when peppermint is a staple flavor in candies, chocolates, and desserts. Peppermint Meringues became especially associated with winter holidays due to their refreshing taste and visual similarity to candy canes—especially when tinted with red food coloring and crushed candy cane pieces are added.
Today, Peppermint Meringues are a beloved treat across North America and Europe, often found at holiday markets, gourmet bakeries, and home kitchens alike. Their delicate structure and bold flavor make them a favorite among pastry enthusiasts who appreciate both artistry and taste in their confections.
Ingredients Breakdown
Understanding each ingredient in Peppermint Meringues is key to achieving the perfect texture and flavor. Unlike many baked goods, meringues rely heavily on precise ratios and proper handling of ingredients. Here’s a detailed breakdown:
- Egg Whites: The foundation of any meringue. Fresh, room-temperature egg whites whip up more easily and create a stable foam. Avoid using aged or cold whites unless specified. Ensure no yolk contaminates the whites, as fat prevents proper whipping.
- Cream of Tartar: An acidic powder that stabilizes egg whites, helping them hold their volume and resist collapsing during baking. It also helps prevent sugar crystallization.
- Granulated Sugar: Added gradually to form a glossy, stiff-peaked meringue. The sugar dissolves into the egg whites, creating structure and sweetness. Superfine sugar can be used for quicker dissolution.
- Pure Peppermint Extract: Provides the signature cool, minty flavor. Use high-quality extract for the best taste; avoid imitation extracts which may leave an artificial aftertaste.
- Red or Pink Food Coloring (optional): Gel-based food coloring is preferred over liquid to avoid altering the consistency of the meringue. A few drops give a festive swirl without affecting texture.
- Candy Canes or Peppermint Candy (optional, for garnish): Crushed pieces can be folded into the mixture or sprinkled on top before baking for added crunch and visual appeal.
- Cornstarch (optional): Sometimes added in small amounts (about ½ teaspoon) to improve moisture absorption and create a slightly softer interior while maintaining crispness.
- White Vinegar or Lemon Juice (alternative to cream of tartar): Can be used in a pinch if cream of tartar isn’t available, though cream of tartar remains the gold standard for stability.
Step-by-Step Recipe
- Preheat the Oven: Set your oven to 200°F (95°C). This low temperature is essential for slow drying without browning. Line two baking sheets with parchment paper or silicone baking mats.
- Prepare Egg Whites: Place 4 large egg whites (about 120 ml) in a clean, grease-free bowl of a stand mixer. Let them sit at room temperature for about 30 minutes for optimal volume.
- Start Whipping: Using the whisk attachment, begin beating the egg whites on medium speed until foamy (about 1–2 minutes).
- Add Cream of Tartar: Sprinkle in ½ teaspoon cream of tartar and continue beating until soft peaks form (approximately 2–3 minutes).
- Incorporate Sugar Gradually: Slowly add 1 cup (200g) granulated sugar, one tablespoon at a time, waiting about 5 seconds between additions. Increase speed to medium-high and beat until sugar is fully dissolved and stiff, glossy peaks form (this takes 5–8 minutes). The meringue should feel smooth when rubbed between fingers—no graininess.
- Flavor and Color: Gently fold in 1 teaspoon pure peppermint extract and a few drops of red gel food coloring (if using). For a marbled effect, swirl gently rather than mixing completely.
- Fold in Crushed Candy (Optional): Lightly fold in ¼ cup finely crushed candy canes for texture and extra minty crunch.
- Pipe the Meringues: Transfer the mixture to a piping bag fitted with a star or round tip. Pipe 1- to 2-inch rounds onto prepared trays, spacing them about 1 inch apart.
- Bake Slowly: Bake for 1 hour and 30 minutes to 2 hours, depending on size and humidity. The meringues are done when they lift easily off the parchment and feel dry and crisp.
- Cool Completely: Turn off the oven and let the meringues cool inside with the door slightly ajar (use a wooden spoon to keep it open). This prevents cracking and ensures even drying.
- Store Properly: Once cooled, store in an airtight container at room temperature for up to 2 weeks.
Tips for Perfect Peppermint Meringues
- Use a Spotlessly Clean Bowl: Any trace of grease or oil will inhibit egg white whipping. Glass or metal bowls work better than plastic, which can retain oils.
- Separate Eggs When Cold: It’s easier to separate yolks from whites when eggs are straight from the fridge, then let whites warm up before use.
- Sift the Sugar: Sifting helps prevent clumping and allows for smoother incorporation into the meringue.
- Avoid Humidity: High humidity can cause meringues to weep or become sticky. Choose a dry day for baking, or run a dehumidifier if necessary.
- Test for Stiff Peaks: When lifting the whisk, the peak should stand straight up without drooping. If it curls over, keep beating.
- Don’t Open the Oven: Resist the urge to check frequently—opening the door can cause sudden temperature changes leading to cracks.
- Use Parchment Paper: Wax paper may melt or cause sticking; always use parchment or silicone mats.
- Adjust Baking Time: Smaller meringues take less time (60–75 minutes), larger ones may need up to 2.5 hours.
- For Chewier Centers: Bake at 225°F (110°C) for 1 hour 15 minutes instead, leaving some moisture inside.
- Color Swirl Technique: Add food coloring to a spatula and drag through the meringue before piping for beautiful ribbons of color.
Variations and Customizations
While classic Peppermint Meringues are delicious on their own, there are countless ways to personalize them for different tastes and occasions:
- Chocolate-Dipped Peppermint Meringues: Melt dark, milk, or white chocolate and dip half of each cooled meringue. Sprinkle with crushed candy canes before the chocolate sets.
- Glittery Meringues: Brush with edible luster dust or spray with pearlized food spray for a magical holiday look.
- Mini Meringue Kisses: Pipe tiny dollops for bite-sized treats—perfect for cookie platters or cake decorations.
- Swirled Red & White: Divide the meringue, tint one portion red, then layer in a piping bag for a candy cane striped effect.
- Gluten-Free & Kosher: Naturally gluten-free and suitable for kosher diets (when certified ingredients are used).
- Vegan Option: Substitute aquafaba (the liquid from canned chickpeas) for egg whites. Use ¾ cup aquafaba for 4 egg whites and follow similar steps, though results may vary slightly.
- Spiced Peppermint: Add a pinch of cinnamon or cayenne for a warm-spicy contrast to the cool mint.
- Lavender-Peppermint Fusion: Fold in culinary lavender for a floral twist that pairs beautifully with mint.
- Jumbo Nest Meringues: Create large circular nests with a well in the center—fill with whipped cream and berries for an elegant dessert.
- Peppermint Meringue Pie Topping: Use piped meringue swirls on top of a chocolate or cheesecake pie, then lightly toast with a kitchen torch.
Health Considerations and Nutritional Value
Peppermint Meringues are naturally fat-free and gluten-free, making them suitable for certain dietary needs. However, they are high in sugar and should be consumed in moderation, especially by individuals managing diabetes or watching their carbohydrate intake.
Nutritional Profile (per average 1-inch meringue, approximately 15g):
- Calories: ~50
- Total Fat: 0g
- Saturated Fat: 0g
- Cholesterol: 0mg
- Sodium: 5mg
- Total Carbohydrates: 12g
- Sugars: 12g
- Protein: 1g
- Fiber: 0g
Considerations:
- Sugar Content: One batch contains nearly 1 cup of sugar. Consider reducing sugar slightly (to ¾ cup) for a less sweet version, though this may affect stability and shelf life.
- Egg Safety: Since meringues are baked at low temperatures and not fully cooked like cakes, those concerned about raw eggs (such as pregnant women or immunocompromised individuals) might prefer pasteurized egg whites.
- Food Dyes: Artificial colors may contain allergens or be avoided in sensitive diets. Natural alternatives include beet juice powder (for red hue) or omitting color entirely.
- Dental Health: Sticky or sugary foods can contribute to tooth decay. Encourage rinsing after consumption.
- Allergens: Contains egg. Always label clearly if serving to guests with allergies.
- Low-Calorie Alternatives: Some recipes experiment with sugar substitutes like erythritol or stevia blends, but success varies—some sweeteners don’t caramelize or stabilize meringue properly.
Ingredients
- 4 large egg whites (about 120 ml), room temperature
- ½ teaspoon cream of tartar
- 1 cup (200g) granulated sugar
- 1 teaspoon pure peppermint extract
- Red gel food coloring (a few drops, optional)
- ¼ cup crushed candy canes or peppermint candies (optional)
- ½ teaspoon cornstarch (optional, for soft centers)
Directions
- Preheat oven to 200°F (95°C). Line two baking sheets with parchment paper or silicone mats.
- In the bowl of a stand mixer, beat egg whites on medium speed until foamy (1–2 minutes).
- Add cream of tartar and continue beating until soft peaks form.
- Gradually add sugar, one tablespoon at a time, beating well after each addition. Increase speed to medium-high and beat until stiff, glossy peaks form (5–8 minutes).
- Gently fold in peppermint extract, food coloring, and optional cornstarch. If using, fold in crushed candy canes last.
- Transfer mixture to a piping bag fitted with a star or plain tip. Pipe into 1–2 inch rounds on prepared sheets.
- Bake for 1 hour 30 minutes to 2 hours, until dry and crisp. Do not brown.
- Turn off oven and let meringues cool inside with door slightly ajar for another 30–60 minutes.
- Remove and store in an airtight container at room temperature.
FAQ
Q: Why did my meringues crack?
A: Cracking usually occurs due to rapid temperature changes or over-beating. Make sure to cool them slowly in the turned-off oven.
Q: Can I make meringues without cream of tartar?
A: Yes, substitute with ½ teaspoon lemon juice or white vinegar, though cream of tartar provides the best stability.
Q: How do I know when meringues are done?
A: They should lift easily from parchment, feel dry to the touch, and snap cleanly when broken.
Q: My meringues are chewy—did I do something wrong?
A: Not necessarily! Chewy meringues result from higher moisture content or shorter baking times. For crispier results, bake longer at the same low temperature.
Q: Can I freeze Peppermint Meringues?
A: Yes, they freeze well for up to 3 months in an airtight container. Thaw at room temperature before serving.
Q: Why won’t my egg whites stiffen?
A: Traces of fat (like yolk), soap residue, or using plastic bowls can prevent stiff peaks. Ensure all equipment is spotless.
Q: Can I double the recipe?
A: Yes, but avoid overloading the mixer. Whip in batches if needed, and ensure your oven has enough space for even air circulation.
Q: Are Peppermint Meringues safe for kids?
A: Yes, but supervise young children due to potential choking hazard from hard texture. Also, check for candy cane allergies.
Summary
Peppermint Meringues are light, crisp, and bursting with festive minty flavor—perfect for holiday treats or elegant dessert spreads. Easy to customize and naturally gluten-free, they offer a show-stopping combination of beauty and taste.