Neon Splash Paint Drip Cake
Introduction
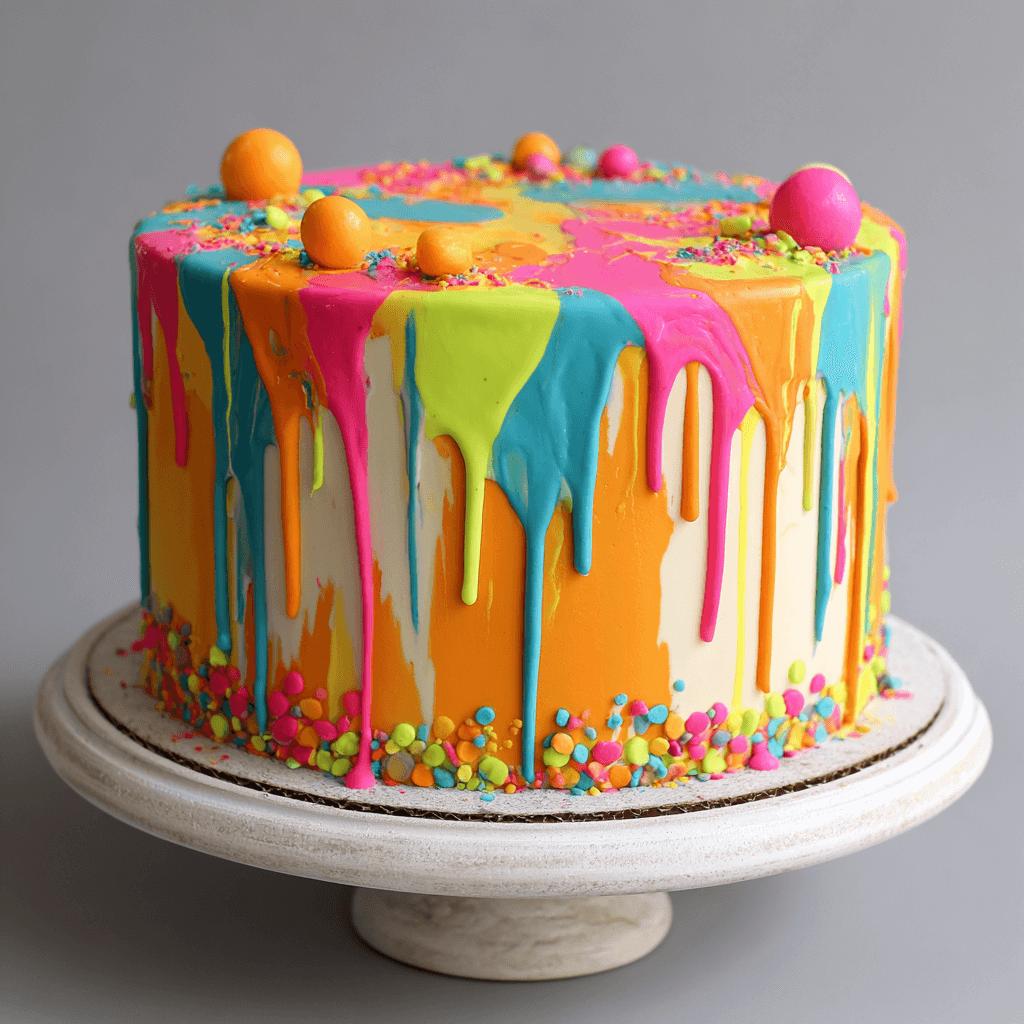
The Neon Splash Paint Drip Cake is a vibrant and eye-catching dessert that’s perfect for parties, birthdays, or any celebration where you want to make a bold statement. This cake features a smooth buttercream base adorned with colorful neon drips that mimic the look of paint splatters, giving it a fun and artistic flair. Whether you’re a seasoned baker or just starting out, this cake is sure to impress your guests and elevate your baking game.
The History
While drip cakes have been around for several years, the neon splash version has gained popularity in recent times thanks to social media platforms like Instagram and Pinterest. The trend took off as bakers began experimenting with color, texture, and presentation, pushing the boundaries of traditional cake decorating. The neon splash effect was inspired by modern art and street-style aesthetics, combining food with visual creativity in a way that’s both delicious and photogenic.
Ingredients Breakdown
This cake consists of three main components: the sponge or layer cake, the buttercream frosting, and the neon-colored chocolate drip. Each part contributes to the overall flavor and visual appeal.
- Cake Base: Flour, sugar, eggs, milk, butter, baking powder, vanilla extract
- Buttercream Frosting: Butter, powdered sugar, heavy cream or milk, vanilla extract, food coloring (optional)
- Neon Drip: White chocolate or candy melts, neon gel or oil-based food coloring, vegetable oil or cocoa butter
Step-by-Step Recipe
- Bake the Cake: Prepare your favorite vanilla or chocolate cake batter and bake in round pans. Let cool completely before leveling and assembling.
- Frost the Cake: Apply a crumb coat and chill. Then frost the entire cake with a smooth layer of buttercream using a bench scraper or offset spatula.
- Prepare the Drip: Melt white chocolate or candy melts with a small amount of vegetable oil. Add neon-colored gel food coloring and mix well.
- Apply the Drip: Spoon or pipe the colored mixture around the edges of the cake to create a dripping effect. You can alternate colors or blend them for a more fluid look.
- Add Final Decorations: Use edible glitter, sprinkles, or metallic accents to enhance the neon theme.
Tips
- Use high-quality neon food coloring for the brightest results—gel or oil-based colors work best.
- For a smoother drip, keep the consistency of the melted chocolate slightly runny but not watery.
- Chill the cake after frosting to set the base before applying the drip.
- Work quickly when applying the drip so it doesn’t harden before you finish styling.
- Use a toothpick to pull down the drip for a more natural paint-splash effect.
Variations and Customizations
- Theme Variations: Create a glow-in-the-dark version using edible fluorescent colors and black light.
- Flavor Twists: Try lemon, strawberry, or confetti cake layers for a playful twist.
- Drip Styles: Experiment with marble drips, ombré effects, or layered color blocks.
- Decoration Ideas: Top with fondant brush strokes, edible paint brushes, or mini canvas cake toppers.
Health Considerations and Nutritional Value
The Neon Splash Paint Drip Cake is rich and indulgent, so it’s best enjoyed in moderation. Depending on the size and number of servings, each slice can contain anywhere from 400–600 calories due to the buttercream and chocolate. For healthier alternatives:
- Use a lighter frosting such as whipped ganache or vegan cashew cream.
- Opt for natural food coloring instead of artificial gels.
- Make the cake gluten-free or dairy-free with appropriate ingredient substitutions.
Ingredients
Cake (8-inch, 3-layer):
- 2 ½ cups all-purpose flour
- 2 cups granulated sugar
- 1 tsp baking powder
- 1 tsp baking soda
- ¼ tsp salt
- 1 cup unsalted butter, softened
- 2 large eggs
- 1 tbsp vanilla extract
- 1 cup buttermilk
Buttercream Frosting:
- 1 cup unsalted butter, softened
- 4 cups powdered sugar
- 2–3 tbsp heavy cream or milk
- 1 tsp vanilla extract
- Optional: Gel food coloring
Neon Drip:
- 1 ½ cups white chocolate chips or candy melts
- 1 tsp vegetable oil or cocoa butter
- Neon-colored gel or oil-based food coloring (e.g., pink, green, blue)
Directions
- Bake the Layers: Preheat oven to 350°F (175°C). Grease and line three 8-inch round cake pans. In a bowl, sift together flour, baking powder, baking soda, and salt. In another bowl, beat butter and sugar until fluffy. Add eggs one at a time, then mix in vanilla. Alternate adding dry ingredients and buttermilk into the wet mixture. Divide batter evenly among pans and bake for 25–30 minutes. Cool completely.
- Make the Frosting: Beat butter until creamy. Gradually add powdered sugar, mixing on low. Add vanilla and cream/milk. Beat until smooth and fluffy. Tint with optional food coloring.
- Assemble the Cake: Level cake layers if necessary. Stack with frosting between each layer. Apply a thin crumb coat and refrigerate for 20 minutes.
- Final Frosting: Frost the entire cake smoothly. Use a bench scraper for clean edges. Chill again before dripping.
- Prepare the Drip: Melt white chocolate gently over a double boiler or in microwave intervals. Stir in oil and neon coloring. Mix until smooth.
- Apply the Drip: Using a spoon or piping bag, drizzle the colored chocolate around the top edge of the cake so it drips down the sides. Use a toothpick to guide longer drips if desired.
- Decorate: Add final touches like edible glitter or sprinkles while the drip is still wet.
- Serve: Refrigerate briefly to set the drip, then bring to room temperature before serving.
FAQ
Can I use regular food coloring for the drip?
Oil-based or gel food coloring works best for achieving bright neon shades without altering the texture of the chocolate.
How do I store the cake?
Store the cake in an airtight container in the refrigerator for up to 3 days. Bring to room temperature before serving for best taste and texture.
Can I make the drip ahead of time?
You can prepare the drip mixture and store it in a sealed container at room temperature. Reheat gently before using.
Is it possible to make this cake gluten-free or vegan?
Yes! Use gluten-free flour and substitute dairy ingredients with plant-based alternatives like vegan butter and almond milk.
What if my drip sets too fast?
Reheat in short bursts in the microwave and stir frequently until it reaches a pourable consistency.
Summary
The Neon Splash Paint Drip Cake is a dazzling and creative dessert that combines bold colors with elegant design. Perfect for celebrations, it’s as fun to make as it is to eat.