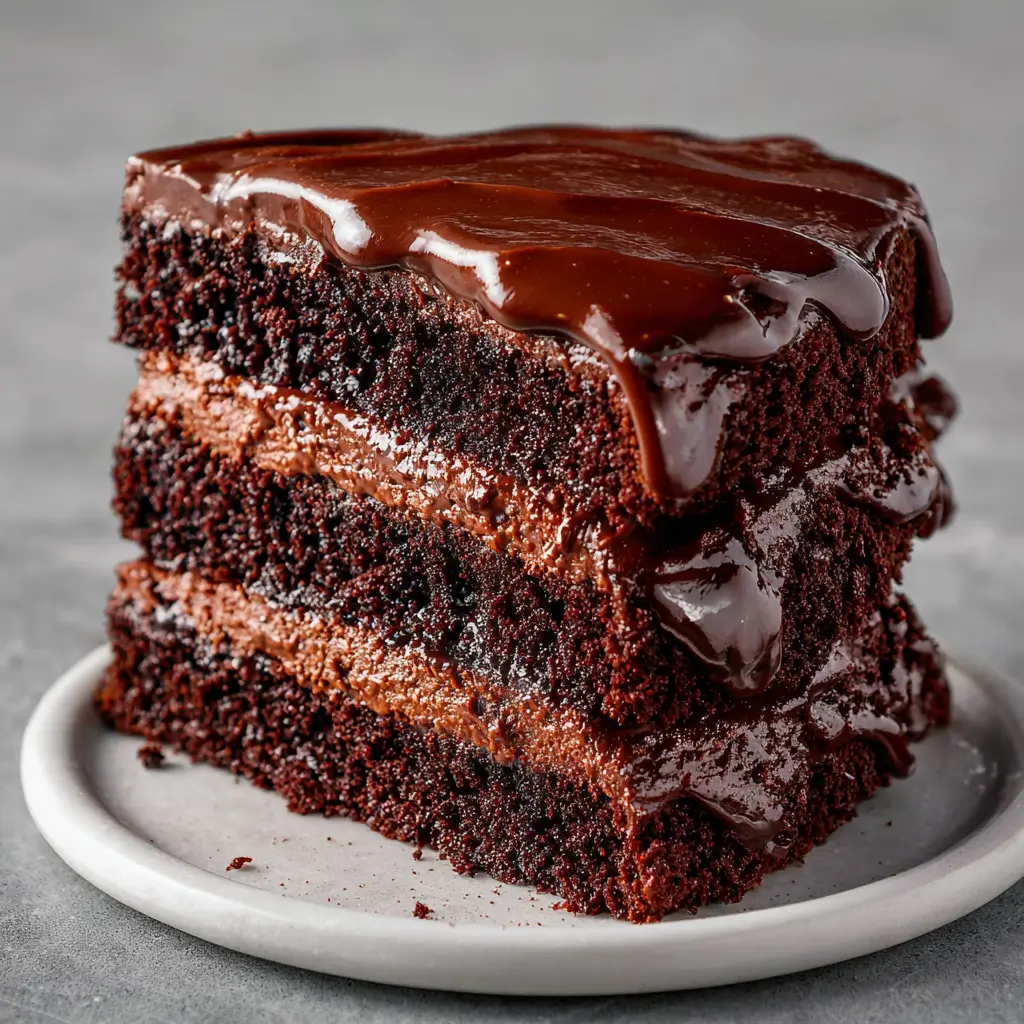
Easy 3-Layer Chocolate Cake
Introduction
There’s something undeniably magical about a rich, moist 3-layer chocolate cake. Whether it’s for a birthday, anniversary, or simply a weekend treat, this cake is a showstopper that’s surprisingly simple to make. The layers are soft and fudgy, the frosting is creamy and decadent, and every bite is a celebration of chocolate in its purest form. This recipe is perfect for both novice bakers and seasoned pros looking to impress with minimal effort.
The History
Layer cakes have a long and storied history, dating back to the 18th and 19th centuries when cakes became more elaborate with the rise of refined sugar and baking powder. The three-layer chocolate cake, in particular, became popular in the early 20th century as chocolate became more widely available and affordable. Today, it remains a beloved classic in American baking and is often the centerpiece of celebrations and family gatherings.
Ingredients Breakdown
This recipe uses standard baking ingredients, many of which you may already have on hand. Each item plays a specific role in creating the perfect cake:
- All-purpose flour – provides the structure of the cake.
- Cocoa powder – adds deep chocolate flavor without making the cake too heavy.
- Baking powder & baking soda – help the cake rise and stay light.
- Salt – enhances the chocolate flavor and balances sweetness.
- Butter – gives richness and tenderness.
- Granulated sugar – sweetens and helps with texture.
- Eggs – bind the ingredients and add structure.
- Milk – adds moisture and creates a smoother batter.
- Vanilla extract – enhances overall flavor.
- Hot coffee – may seem unusual, but it intensifies the chocolate flavor and makes the cake extra moist.
- Chocolate frosting – a rich, creamy topping that ties everything together.
Step-by-Step Recipe
- Preheat your oven to 350°F (175°C). Grease and flour three 8-inch round cake pans.
- In a large mixing bowl, sift together flour, cocoa powder, baking powder, baking soda, and salt.
- Add butter and sugar to a separate bowl and beat until light and fluffy.
- Beat in the eggs one at a time, then mix in vanilla extract.
- Gradually mix the dry ingredients into the butter mixture, alternating with milk, beginning and ending with the dry ingredients.
- Stir in hot coffee (the batter will be thin – this is normal).
- Pour the batter evenly into the prepared pans.
- Bake for 25–30 minutes or until a toothpick inserted in the center comes out clean.
- Let the cakes cool in the pans for 10 minutes, then remove from pans and cool completely on wire racks.
- Frost each layer and stack them, finishing with a final layer of frosting on top and around the sides.
Tips
- Use room-temperature ingredients for a smoother batter.
- Don’t skip the hot coffee – it enhances the chocolate flavor and creates a tender crumb.
- Cool the cakes completely before frosting to avoid melting the frosting.
- For a professional finish, use a cake turntable and offset spatula.
- Store the cake in a cool, dry place or refrigerate if the weather is warm.
Variations and Customizations
- Gluten-Free: Use gluten-free all-purpose flour blend and ensure all other ingredients are gluten-free.
- Dairy-Free: Substitute butter with vegan butter and milk with almond or oat milk.
- Flavor Twists: Add a teaspoon of espresso powder for extra chocolate depth, or swap some cocoa powder with instant coffee powder for a mocha version.
- Frosting Options: Try chocolate ganache, cream cheese frosting, or Swiss meringue buttercream for a different twist.
- Fillings: Layer in fruit preserves, caramel, or peanut butter between the cake layers.
- Decoration: Top with sprinkles, chocolate shavings, edible flowers, or a dusting of powdered sugar.
Health Considerations and Nutritional Value
This cake is indulgent and should be enjoyed in moderation. Here’s a general nutritional breakdown per slice (based on 12 slices):
- Calories: ~350–400
- Fat: ~15–20g
- Carbohydrates: ~50–60g
- Protein: ~4–6g
- Sugar: ~30–35g
To make it a bit healthier:
- Use whole wheat flour or oat flour in place of all-purpose flour.
- Replace half the sugar with applesauce or mashed banana.
- Opt for a lighter frosting like Greek yogurt chocolate frosting.
- Use dark cocoa powder for more antioxidants.
Ingredients
- 2 cups all-purpose flour
- ¾ cup unsweetened cocoa powder
- 1½ tsp baking powder
- 1½ tsp baking soda
- 1 tsp salt
- 1 cup unsalted butter, softened
- 2 cups granulated sugar
- 2 large eggs
- 1 tsp vanilla extract
- 1 cup milk
- 1 cup hot coffee
- Chocolate frosting (store-bought or homemade)
Directions
- Preheat oven to 350°F (175°C). Prepare three 8-inch round cake pans by greasing and flouring them.
- In a medium bowl, sift together flour, cocoa powder, baking powder, baking soda, and salt.
- In a large bowl, beat butter and sugar until light and fluffy.
- Add eggs one at a time, beating well after each addition. Stir in vanilla extract.
- Gradually add the dry ingredients to the butter mixture, alternating with the milk, starting and ending with dry ingredients.
- Gently stir in hot coffee until the batter is smooth. The batter will be thin – this is normal.
- Pour the batter evenly into the prepared pans.
- Bake for 25–30 minutes or until a toothpick inserted into the center comes out clean.
- Allow cakes to cool in pans for 10 minutes, then remove and place on wire racks to cool completely.
- Frost each layer and stack, finishing with a final layer of frosting on top and sides.
FAQ
Can I make this cake ahead of time?
Yes, you can bake the layers a day in advance. Wrap them tightly in plastic wrap and store at room temperature overnight.
Can I freeze the cake layers?
Yes, the cooled layers can be wrapped in plastic wrap and aluminum foil, then frozen for up to 3 months.
What if I don’t have round pans?
You can use 9×13-inch rectangular pans or cupcakes. Adjust baking time accordingly.
How long will the cake last?
Stored in an airtight container at room temperature, the cake will keep for 3–4 days. In the fridge, it can last up to a week.
Can I make it without coffee?
Yes, you can substitute hot water or milk, but the chocolate flavor won’t be as intense.
Can I use oil instead of butter?
Yes, you can substitute oil (melted coconut or vegetable oil), but the flavor and texture may vary slightly.
Summary
This easy 3-layer chocolate cake is rich, moist, and perfect for any occasion. With simple ingredients and clear instructions, it’s a crowd-pleasing dessert that looks and tastes like it came from a bakery.