Introduction
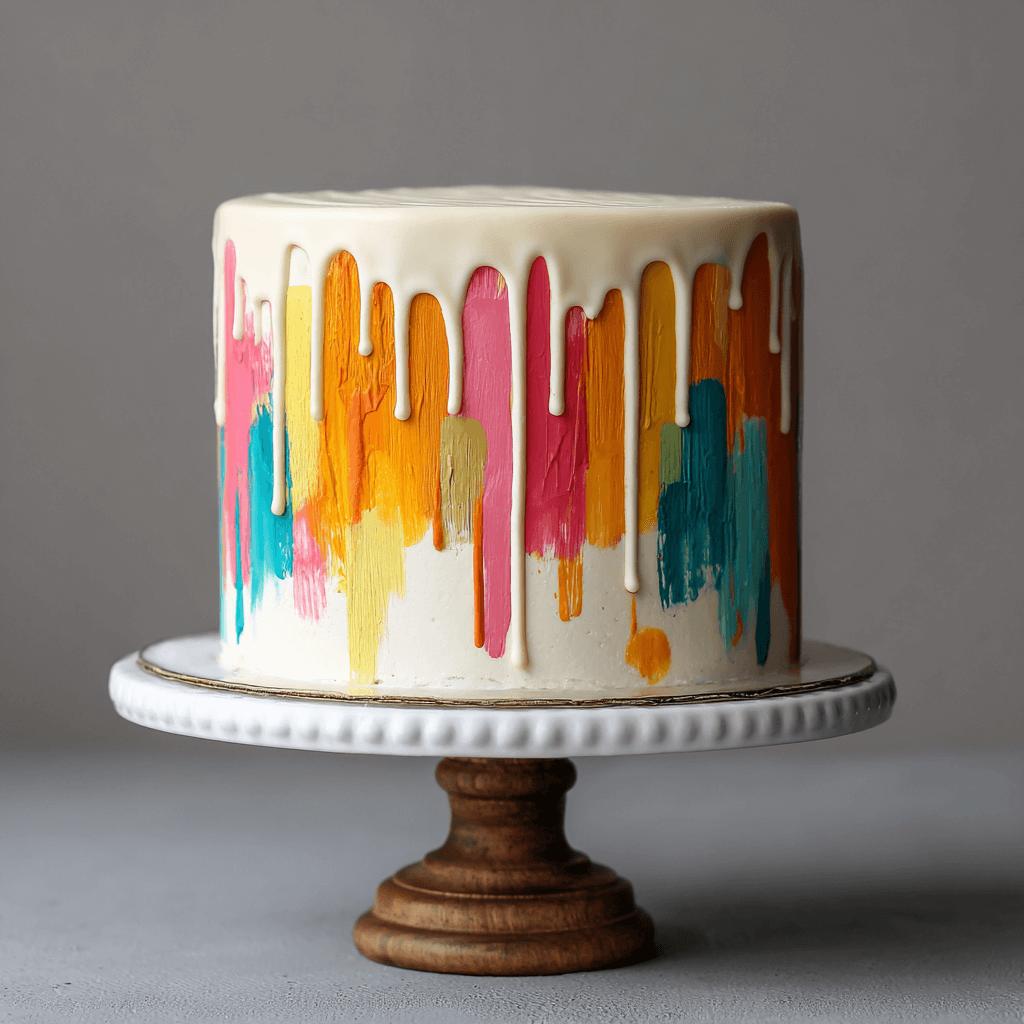
The Bold Brushstroke Drip Cake is more than just a dessert—it’s a work of edible art. Inspired by modern abstract painting techniques, this cake blends the elegance of fine art with the indulgence of baked goodness. It features vibrant colors, dramatic brushstroke patterns, and glossy drip glaze that cascades down the sides, making it the ultimate centerpiece for birthdays, anniversaries, or any celebration where you want to make a bold visual statement. Whether you’re a seasoned baker or a passionate beginner, this guide will walk you through every step to create your own stunning masterpiece.
The History
Drip cakes gained popularity in the early 2010s as cake decorators began experimenting with textures and fluid icings that mimicked the spontaneity of oil paint. The “brushstroke” technique evolved from watercolor and acrylic art trends, where bold strokes and color blending became a symbol of creativity and individuality. Combining both elements—drips and brushstrokes—the Bold Brushstroke Drip Cake was born as a favorite among contemporary cake artists who wanted to bring movement and emotion into their desserts. Today, it’s a staple in modern cake design and continues to inspire countless variations across social media platforms like Pinterest and Instagram.
Ingredients Breakdown
- Cake Base: Vanilla or chocolate sponge cake layers (3–4 layers recommended)
- Buttercream Frosting: Made with unsalted butter, powdered sugar, heavy cream, and vanilla extract
- Brushstroke Colors: Gel food coloring in various shades (e.g., navy blue, crimson red, emerald green, gold) or edible airbrush colors
- Drip Glaze: Dark or white chocolate ganache, candy melts, or ready-made drip icing
- Optional Add-ons: Edible glitter, metallic luster dust, or sprinkles for added flair
Step-by-Step Recipe
- Bake the Cake Layers: Prepare and bake each layer according to your chosen recipe. Let cool completely before leveling.
- Prepare Buttercream: Whip up a smooth batch of buttercream frosting. Divide into small bowls if you plan on adding multiple colors for the crumb coat.
- Crumb Coat: Apply a thin layer of buttercream over the entire cake to seal in crumbs. Chill for 20–30 minutes.
- Final Frosting Layer: Spread a thick, even layer of frosting around the chilled cake for a smooth base.
- Create Brushstrokes: Using a clean kitchen towel, small brush, or palette knife, apply gel colors or airbrush colors onto the sides of the cake in sweeping, artistic strokes. Blend gently for a painterly effect.
- Add Drips: Spoon warm drip glaze around the edges of the top layer, allowing it to cascade naturally down the sides. You can also use a squeeze bottle for precision.
- Finishing Touches: Add optional embellishments like edible glitter or sprinkles while the glaze is still wet.
- Chill and Serve: Refrigerate the cake for at least an hour to set the decorations before serving.
Tips
- Use room-temperature buttercream for smoother application.
- Apply the drip glaze when it’s slightly warm but not hot to achieve the perfect consistency.
- Work quickly when creating brushstrokes to avoid the frosting skinning over.
- For cleaner lines, chill the cake between steps.
- Experiment with different color palettes—monochrome, rainbow, or seasonal themes all work beautifully.
- If using a palette knife, dab and drag the color in one motion for best results.
Variations and Customizations
- Theme-Based Color Schemes: Create holiday-themed versions with red/green for Christmas, pastels for Easter, or black/purple for Halloween.
- Layer Variations: Use red velvet, lemon, or strawberry cake layers instead of vanilla or chocolate.
- Glaze Options: Swap chocolate ganache with fruit coulis, caramel, or white chocolate for a unique twist.
- Texture Play: Combine the drip with fondant details, piping accents, or edible metallic paints for added dimension.
- Mini Versions: Make mini brushstroke drip cupcakes for a party-friendly option.
Health Considerations and Nutritional Value
While the Bold Brushstroke Drip Cake is undeniably rich and indulgent, it can be enjoyed in moderation as part of a balanced diet. A typical slice may contain between 500–700 calories, depending on portion size and ingredients used. To lighten it up:
- Use reduced-fat butter or substitute with a plant-based alternative.
- Replace some of the powdered sugar in the frosting with natural sweeteners like stevia or erythritol.
- Incorporate whole grain or almond flour into the cake batter.
- Opt for dark chocolate (70% or higher cocoa) for the drip glaze to add antioxidants.
- Reduce the number of layers or frost thinner layers for fewer calories per serving.
Keep in mind that food coloring and decorative elements are generally safe in the amounts used, but always check for allergens or sensitivities if serving to others.
Ingredients
- 2 cups all-purpose flour
- 1 ¾ cups granulated sugar
- ½ cup unsalted butter, softened
- ¾ cup vegetable oil
- 2 large eggs
- 1 tsp vanilla extract
- 1 cup buttermilk
- 1 tsp baking soda
- ½ tsp salt
- For Frosting:
- 1 cup unsalted butter, softened
- 4 cups powdered sugar
- 2–3 tbsp heavy cream or milk
- 1 tsp vanilla extract
- For Drip Glaze:
- 1 ½ cups heavy cream
- 1 ½ cups dark or white chocolate chips
- Gel food colors or edible airbrush colors
- Edible glitter or luster dust (optional)
Directions
- Preheat oven to 350°F (175°C). Grease and flour three 8-inch round cake pans.
- Mix dry ingredients: In a large bowl, sift together flour, baking soda, and salt.
- Cream butter and sugar: In another bowl, beat butter and sugar until light and fluffy. Add eggs one at a time, then mix in oil and vanilla.
- Combine wet and dry: Gradually alternate mixing in the dry ingredients and buttermilk, starting and ending with dry ingredients.
- Pour batter: Evenly divide batter into prepared pans and bake for 25–30 minutes or until a toothpick comes out clean.
- Cool layers: Let cakes cool in pans for 10 minutes, then remove and place on wire racks to cool completely.
- Make buttercream: Beat butter until creamy, gradually add powdered sugar, and mix in vanilla and cream until desired consistency is reached.
- Assemble cake: Place first layer on stand, spread frosting, repeat layers, and apply crumb coat. Chill for 20–30 minutes.
- Apply final frosting: Frost outside of cake smoothly, chill again if needed.
- Decorate: With a brush or towel, apply gel colors in sweeping motions for brushstroke effect.
- Add drips: Warm glaze slightly, spoon around top edge, let drip down sides.
- Finish and chill: Add optional glitter or dust, then refrigerate for at least 1 hour before slicing.
FAQ
Can I use store-bought cake mix?
Absolutely! Choose a high-quality mix and follow package instructions for best results.
How do I prevent the drip from melting the frosting?
Ensure the cake is well-chilled before applying the drip. Cold frosting helps prevent melting from warm glaze.
What if I don’t have gel food coloring?
Liquid food coloring