Introduction
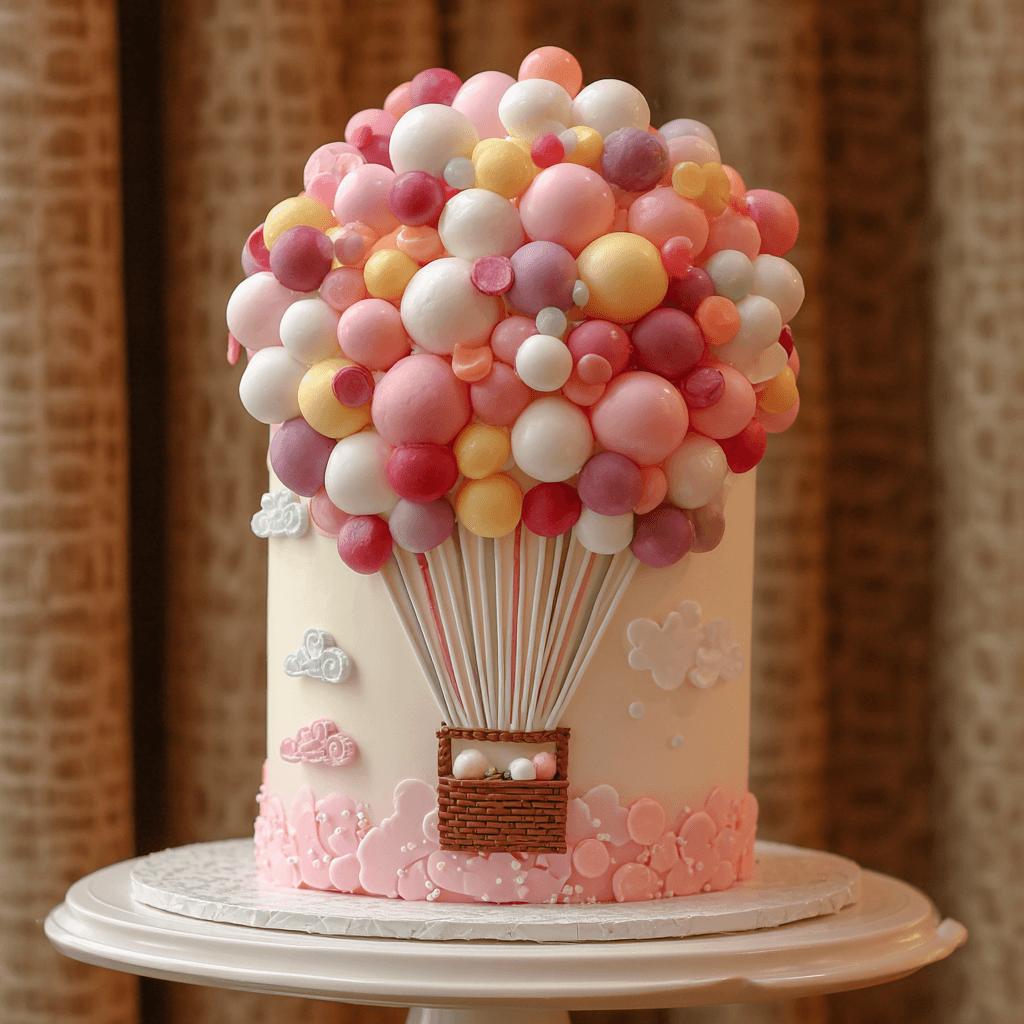
Welcome to the whimsical and delightful world of the Balloon Party Surprise Cake! This isn’t just any ordinary birthday cake—it’s a magical centerpiece that brings joy, laughter, and an unforgettable element of surprise. Designed especially for children’s parties or playful adult celebrations, this cake hides a secret: when you cut into it, colorful balloons pop out from inside, creating an instant celebration moment.
The History
While the exact origins of the Balloon Party Surprise Cake are hard to trace, the concept of surprise cakes gained popularity in the early 2010s with the rise of viral food videos on platforms like YouTube and Instagram. Bakers around the world began experimenting with hidden layers, confetti explosions, and even balloon-filled centers. The Balloon Party Surprise Cake quickly became a favorite due to its visual impact and interactive nature, making it a go-to showstopper for birthdays and special events.
Ingredients Breakdown
This unique cake combines classic baking elements with some unexpected tools to safely hide balloons inside. Here’s what you’ll need:
- For the Cake:
- All-purpose flour
- Baking powder
- Salt
- Unsalted butter (or vegan alternative)
- Granulated sugar
- Eggs
- Milk
- Vanilla extract
- Fondant or buttercream frosting
- Food coloring (optional)
- For the Surprise:
- Mini helium balloons (latex-free if possible)
- Clear plastic tube or PVC pipe (heat-resistant and food-safe)
- Tape or heat-resistant glue
- Decorative picks or toppers
Step-by-Step Recipe
- Prepare the Cake Batter: In a large bowl, sift together flour, baking powder, and salt. In another bowl, cream butter and sugar until light and fluffy. Add eggs one at a time, mixing well after each addition. Stir in vanilla extract. Alternate adding milk and dry ingredients to the butter mixture, beginning and ending with the dry ingredients.
- Bake the Cakes: Pour the batter into two 9-inch round cake pans. Bake at 350°F (175°C) for 25–30 minutes or until a toothpick inserted in the center comes out clean. Let them cool completely before assembling.
- Create the Balloon Chamber: Cut a circular hole in the center of one cooled cake layer using a small bowl as a guide. Insert a cleaned and sanitized clear plastic tube into the hole, ensuring it goes through both layers once stacked. Secure it with tape or edible glue.
- Assemble the Cake: Place the first cake layer on a serving plate. Spread a layer of frosting over the top. Stack the second cake layer on top, with the hole aligned with the tube. Frost the entire cake with a crumb coat, chill, then apply a final layer of frosting or fondant.
- Insert the Balloons: Just before serving, gently place helium balloons into the tube. Cover the top with a matching fondant circle or decorative lid to keep the balloons inside until the big reveal.
- Decorate: Use fondant shapes, edible glitter, or buttercream piping to create a party-themed design—think stars, confetti, streamers, and happy birthday banners!
Tips
- Use latex-free balloons to avoid allergic reactions, especially if children will be present.
- Make sure the plastic tube is thoroughly cleaned and food-safe. You can use a food-grade silicone tube for extra safety.
- Frosting works best when chilled—so do your final decorations right before serving.
- If you’re preparing the cake ahead of time, wait until the last minute to insert the balloons so they don’t deflate.
- Always supervise children during the balloon reveal to ensure safety.
Variations and Customizations
- Theme Variations: Tailor the cake to match specific themes like unicorn parties, space adventures, or under-the-sea journeys by adjusting colors and decorations.
- Chocolate Version: Substitute part of the flour with cocoa powder for a rich chocolate flavor.
- Gluten-Free/Vegan Options: Use gluten-free flour blends and plant-based butter/milk alternatives for dietary-friendly versions.
- Adult Twist: For grown-up parties, replace balloons with mini bottles of bubbly or candy-filled surprises.
- Seasonal Flavors: Try lemon-blueberry, pumpkin spice, or peppermint-chocolate variations depending on the season.
Health Considerations and Nutritional Value
While this cake is a fun treat, it’s important to consider the nutritional content and potential allergens:
- Allergens: Contains dairy, eggs, and wheat. Be mindful of guests with food allergies and offer alternatives if needed.
- Nutrition Facts (per slice, approx.): Calories – 350–450, Fat – 15g, Carbohydrates – 50g, Protein – 5g (varies based on recipe and frosting used).
- Healthier Alternatives: Reduce sugar by up to 25%, use Greek yogurt instead of butter, and opt for natural sweeteners like honey or maple syrup.
- Portion Control: Make mini cupcakes with the same surprise feature to encourage smaller servings.
Ingredients
- 2 cups all-purpose flour
- 1 tbsp baking powder
- ½ tsp salt
- ½ cup unsalted butter, softened
- 1 ½ cups granulated sugar
- 2 large eggs
- 1 cup milk
- 1 tsp vanilla extract
- Buttercream or fondant for frosting
- Mini helium balloons (6–8 pieces)
- Clear plastic or food-safe tube (~3 inches in diameter, 4 inches tall)
- Optional: Food coloring, sprinkles, edible decorations
Directions
- Preheat oven to 350°F (175°C). Grease two 9-inch round cake pans and line with parchment paper.
- In a medium bowl, combine flour, baking powder, and salt; set aside.
- Cream butter and sugar together until light and fluffy. Beat in eggs, one at a time, then stir in vanilla.
- Alternate adding flour mixture and milk to the butter mixture, beginning and ending with flour.
- Divide batter evenly between prepared pans. Bake for 25–30 minutes or until a toothpick comes out clean.
- Let cakes cool completely on wire racks.
- Once cooled, trim the tops flat if necessary. Cut a circular hole in the center of one cake layer (about 2 inches wide).
- Insert the plastic tube into the hole, securing it with tape or edible glue. Ensure it runs through both cake layers.
- Stack the second cake on top, aligning the hole with the tube.
- Frost the cake with a crumb coat, chill for 20 minutes, then apply a final layer of frosting or fondant.
- Decorate according to your theme.
- Just before serving, insert balloons into the tube and cover the opening with a fondant circle or decorative lid.
- Cut into the cake to reveal the floating balloons!
FAQ
- Can I use regular air-filled balloons instead of helium?
- No, air-filled balloons won’t float out when the cake is sliced. Helium balloons are essential for the surprise effect.
- Is the plastic tube safe to eat from?
- The tube should be food-safe and not come into contact with the cake batter. It acts only as a balloon chamber and should be removed before serving.
- How long can the balloons stay inside the cake before popping out?
- Insert balloons no more than 1–2 hours before serving to prevent deflation.
- Can I reuse the plastic tube?
- Yes! Clean it thoroughly and store it for future surprise cakes.
- Are there any age restrictions for this cake?
- Due to small parts (balloons), it’s recommended to