No-Bake Chocolate Biscuit Cake
Introduction
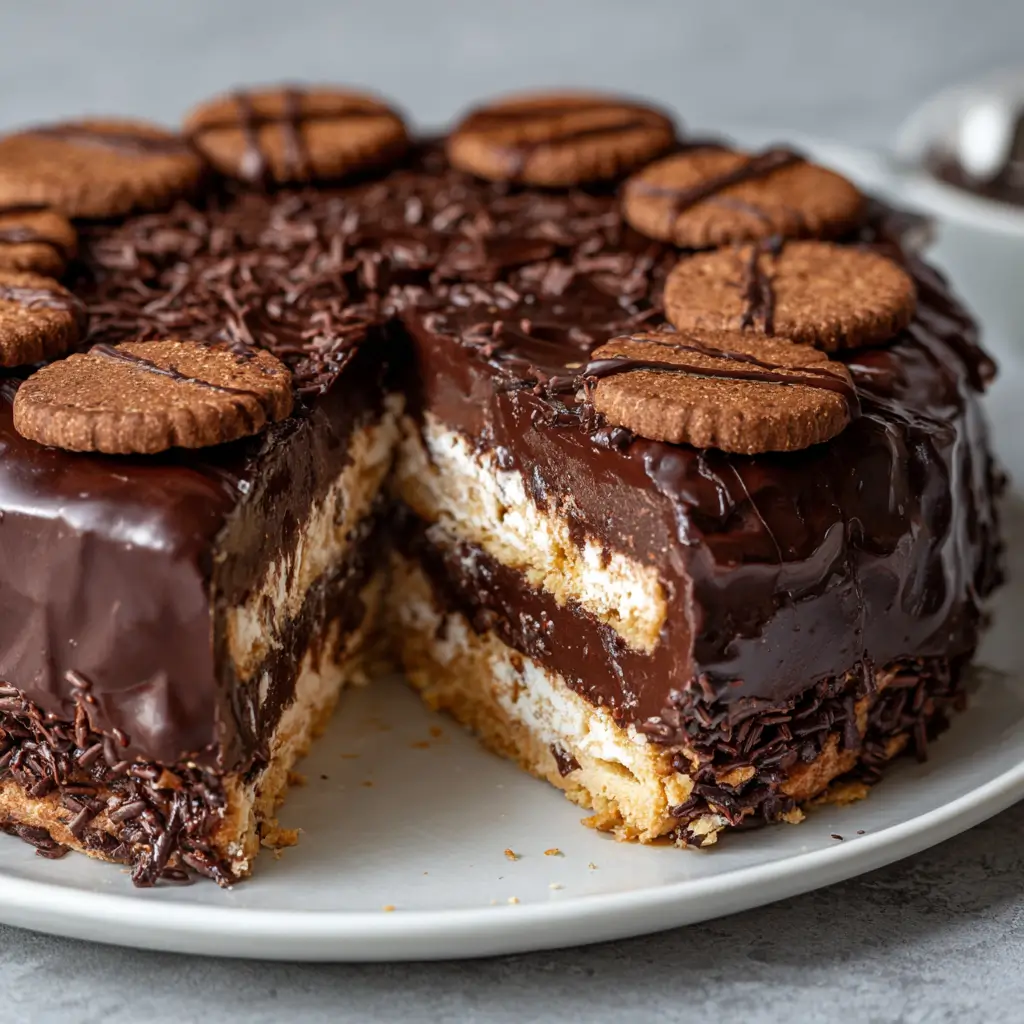
No-Bake Chocolate Biscuit Cake is a beloved dessert enjoyed by people of all ages. It’s a perfect blend of rich chocolate and crunchy biscuits, offering a creamy texture without the need for baking. Ideal for parties, potlucks, or a quick dessert fix, this cake is not only delicious but also incredibly easy to prepare. Whether you’re a seasoned baker or a complete novice in the kitchen, this no-bake version ensures a fuss-free experience with mouthwatering results.
The History
The origins of biscuit or trifle-type cakes can be traced back to traditional British desserts. These desserts were often made using leftover biscuits or bread soaked in syrup or milk to soften them. Over time, variations emerged across different cultures, with chocolate and condensed milk becoming popular additions. The modern no-bake biscuit cake as we know it today gained popularity in the mid-20th century, especially in regions like South Africa, the Caribbean, and the UK, where it became a staple at gatherings and celebrations due to its simplicity and affordability.
Ingredients Breakdown
This dessert relies on just a few basic ingredients that come together to create a luxurious texture and rich flavor. The primary components are:
- Digestive Biscuits: Provide a crunchy base and earthy flavor.
- Chocolate: Adds richness and depth to the cake layers.
- Butter: Binds the biscuit base together and enhances creaminess.
- Condensed Milk: Acts as a sweet, sticky layer that softens the biscuits.
- Cocoa Powder: Boosts chocolate flavor in the layers.
Optional ingredients like nuts, dried fruits, or sprinkles can be added for extra texture and visual appeal.
Step-by-Step Recipe
- Prepare the Base: Crush the biscuits into fine crumbs and mix with melted butter.
- Layer the Base: Press the mixture firmly into the bottom of a lined loaf tin or cake pan.
- Make the Chocolate Mixture: Combine cocoa powder, condensed milk, and a bit of melted butter until smooth.
- Layer the Cake: Spread a layer of chocolate mixture over the base, then top with more crushed biscuits.
- Repeat Layers: Continue alternating layers of biscuits and chocolate mixture until the tin is full.
- Chill: Refrigerate for at least 4–6 hours or overnight to allow the cake to set.
- Set and Slice: Once set, remove from the tin, slice into bars or pieces, and serve chilled.
Tips
- Use a food processor to crush the biscuits evenly and quickly.
- For a smoother texture, strain the chocolate mixture before layering.
- Line the tin with parchment paper or aluminum foil for easy removal.
- Press each layer firmly to prevent the cake from crumbling when sliced.
- Chill the cake thoroughly to ensure it holds its shape when cut.
Variations and Customizations
- Vanilla Version: Replace cocoa powder with flour and add vanilla extract for a classic flavor.
- Chocolate Hazelnut: Add a layer of hazelnut spread or crushed hazelnuts between layers.
- Coconut Bliss: Sprinkle desiccated coconut between layers or top with toasted coconut flakes.
- Fruity Twist: Add dried fruits like raisins, cranberries, or chopped dates to the biscuit layers.
- Spiced Variation: Add a pinch of cinnamon or nutmeg to the chocolate mixture for a warm flavor profile.
Health Considerations and Nutritional Value
This cake is high in sugar and saturated fat due to the use of sweetened condensed milk and butter. It’s best enjoyed as an occasional treat rather than a daily indulgence. To make a slightly healthier version:
- Use whole grain biscuits for added fiber.
- Opt for low-fat or reduced-sugar condensed milk.
- Replace butter with a small amount of coconut oil or a plant-based alternative.
- Add nuts or seeds for protein and healthy fats.
Each serving typically contains around 250–350 calories, depending on the size and number of layers.
Ingredients
- 20–25 digestive biscuits (or graham crackers)
- 100g (½ cup) unsalted butter, melted
- 1 can (397g/14 oz) sweetened condensed milk
- 2–3 tablespoons cocoa powder (unsweetened)
- Optional: 2–3 tablespoons chopped nuts or dried fruit
- Optional: 1 teaspoon vanilla extract or a pinch of salt
Directions
- Line a loaf tin or small cake tin with parchment paper, leaving overhang on the sides for easy removal.
- In a bowl, crush the biscuits into fine crumbs. Mix in the melted butter until the crumbs are evenly coated.
- Press half of the biscuit mixture firmly into the bottom of the tin to form the base layer.
- In another bowl, whisk together the sweetened condensed milk, cocoa powder, and optional vanilla extract or salt until smooth.
- Spread a thin layer of the chocolate mixture over the biscuit base.
- Top with another layer of crushed biscuits, pressing down gently.
- Repeat the layers, finishing with a top layer of chocolate mixture.
- Refrigerate the cake for at least 4–6 hours, or preferably overnight, to allow it to set completely.
- Once set, lift the cake out using the parchment paper overhang and slice into squares or bars.
- Serve chilled for best texture and flavor.
FAQ
Can I use different types of biscuits?
Yes! Graham crackers, Marie biscuits, or even chocolate cookies work well depending on your taste.
Can I make this ahead of time?
Absolutely. This cake can be made up to 3–4 days in advance and stored in the refrigerator.
Is it possible to freeze the cake?
Yes, wrap it tightly in plastic wrap and foil, then freeze for up to 1 month. Thaw in the refrigerator before serving.
Can I substitute the condensed milk?
You can use alternatives like coconut condensed milk or dulce de leche, though the flavor will change slightly.
Why is my cake too soft or too hard?
Too soft? It may need more time to chill. Too hard? You might have used too much butter or not enough condensed milk.
Summary
No-Bake Chocolate Biscuit Cake is a simple, creamy, and rich dessert made with just a few ingredients and no oven required. Perfect for any occasion, it’s a crowd-pleasing treat that’s easy to prepare and always a hit.