Chocolate Chip Layer Cake
Introduction
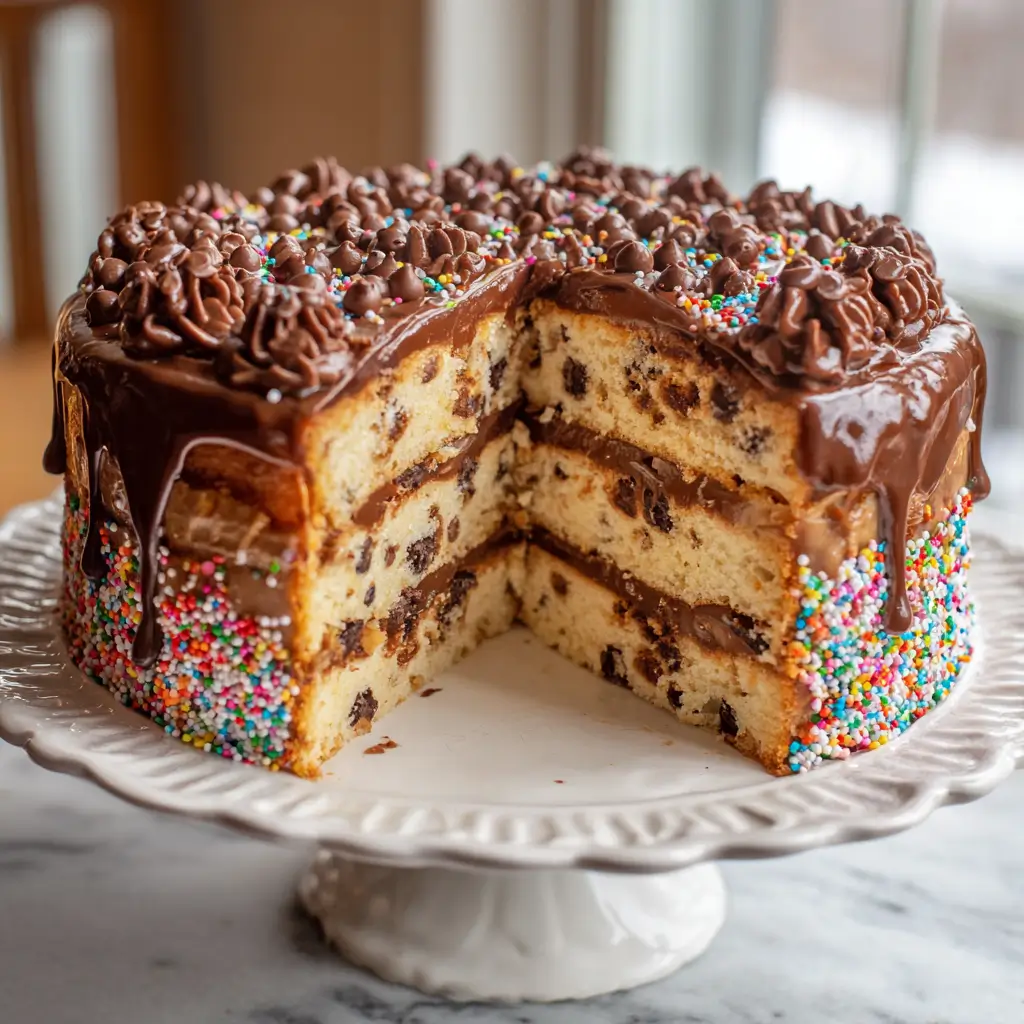
Indulge in the rich, moist layers of a classic Chocolate Chip Layer Cake—a timeless dessert that brings joy to any occasion. Whether it’s a birthday, holiday, or just a sweet craving, this cake promises to be the star of the show. Combining soft vanilla sponge with gooey chocolate chips, this cake is a comforting treat that appeals to all ages. Let’s dive into the history, ingredients, and steps to create this beloved dessert.
The History
The chocolate chip layer cake traces its roots back to the early 20th century, evolving from the traditional layer cakes that were a staple in American households. The invention of chocolate chips by Ruth Wakefield in the 1930s gave rise to a new wave of desserts, and layer cakes were no exception. Over time, home bakers began incorporating chocolate chips into the batter, creating a moist, flavorful cake with pockets of melted chocolate. Today, it remains a cherished classic in bakeries and homes across the world.
Ingredients Breakdown
The success of a Chocolate Chip Layer Cake lies in the quality and balance of its ingredients. Here’s a breakdown of what each component contributes:
- All-Purpose Flour: Provides the structure of the cake.
- Baking Powder: Helps the cake rise and remain light and fluffy.
- Baking Soda: Works with acidic ingredients to enhance leavening and texture.
- Salt: Balances the sweetness and enhances flavor.
- Butter: Adds richness and depth of flavor.
- Granulated Sugar: Sweetens the cake and helps with texture.
- Brown Sugar: Adds moisture and a caramel-like flavor.
- Eggs: Bind the ingredients together and contribute to the cake’s structure.
- Milk: Keeps the batter moist and contributes to a soft crumb.
- Vanilla Extract: Enhances flavor and adds aromatic depth.
- Chocolate Chips: The star ingredient—melting into gooey pockets of chocolate throughout the cake.
Step-by-Step Recipe
- Preheat your oven to 350°F (175°C) and grease two 9-inch round cake pans. Line the bottoms with parchment paper.
- In a medium bowl, sift together the flour, baking powder, baking soda, and salt. Set aside.
- In a large bowl, cream together the butter, granulated sugar, and brown sugar until light and fluffy.
- Add the eggs one at a time, beating well after each addition. Stir in the vanilla extract.
- Alternately add the dry ingredients and milk to the butter mixture, beginning and ending with the dry ingredients. Mix until just combined.
- Fold in the chocolate chips gently using a spatula.
- Divide the batter evenly between the prepared pans.
- Bake for 28–32 minutes or until a toothpick inserted into the center comes out clean.
- Cool the cakes in the pans for 10 minutes, then remove from pans and place on wire racks to cool completely.
- Frost the cooled layers with your favorite frosting and top with additional chocolate chips if desired.
Tips
- Use room temperature butter and eggs for a smoother batter.
- Don’t overmix the batter once you add the dry ingredients to avoid a dense cake.
- Let the cakes cool completely before frosting to prevent melting.
- Use a serrated knife to level the tops if they rise unevenly.
- For a richer flavor, use dark chocolate chips or a mix of milk and dark.
Variations and Customizations
This versatile cake can be customized in countless ways:
- Flavor Boosters: Add a teaspoon of almond extract or a few drops of coffee extract to enhance the chocolate flavor.
- Chocolate Lovers’ Dream: Add cocoa powder to the batter for a deeper chocolate taste.
- Fruit Twist: Fold in chopped nuts or dried fruits like cherries or cranberries.
- Gluten-Free: Substitute the all-purpose flour with a gluten-free flour blend and check other ingredients for gluten content.
- Layer It Up: Make it a 3 or 4-layer cake by dividing the batter into more pans for a taller, more decadent dessert.
- Drizzle Magic: Drizzle caramel or chocolate sauce between the layers for an extra layer of flavor.
Health Considerations and Nutritional Value
While the Chocolate Chip Layer Cake is a treat meant for indulgence, it’s good to understand its nutritional profile. Each slice (assuming 12 servings) contains approximately:
- Calories: 400–500 kcal
- Fat: 18–25g (mostly from butter and chocolate chips)
- Carbohydrates: 60–70g (from sugar and flour)
- Protein: 4–6g (from eggs and milk)
For a healthier version, consider the following substitutions:
- Use unsweetened applesauce or mashed banana in place of some of the butter.
- Replace half the all-purpose flour with whole wheat flour for added fiber.
- Opt for natural sweeteners like honey or maple syrup instead of refined sugar (note this may affect texture).
- Choose dark chocolate chips with higher cocoa content and less sugar.
Ingredients
- 2 1/2 cups all-purpose flour
- 1 1/2 teaspoons baking powder
- 1/2 teaspoon baking soda
- 1/2 teaspoon salt
- 1 cup (2 sticks) unsalted butter, softened
- 1 1/2 cups granulated sugar
- 1/2 cup brown sugar, packed
- 2 large eggs, room temperature
- 1 cup whole milk
- 2 teaspoons vanilla extract
- 2 cups chocolate chips
Directions
- Preheat oven to 350°F (175°C). Grease and line two 9-inch round cake pans.
- In a bowl, sift together flour, baking powder, baking soda, and salt. Set aside.
- Cream butter, granulated sugar, and brown sugar until light and fluffy.
- Add eggs one at a time, then mix in vanilla extract.
- Alternate adding dry ingredients and milk to the butter mixture, mixing until just combined.
- Fold in chocolate chips gently.
- Divide batter evenly between the pans and bake for 28–32 minutes.
- Cool cakes in pans for 10 minutes, then transfer to wire racks to cool completely.
- Frost and decorate as desired.
FAQ
Can I make this cake ahead of time?
Yes! The cake layers can be baked a day in advance and stored, wrapped, at room temperature. Frost the cake just before serving.
Can I freeze the cake?
Absolutely. Wrap unfrosted layers tightly in plastic wrap and freeze for up to 2 months. Thaw completely before frosting.
What frosting pairs best with this cake?
Classic buttercream, cream cheese frosting, or even a simple chocolate ganache all work beautifully.
Can I make cupcakes instead?
Yes! Fill cupcake liners 2/3 full and bake at 350°F for 18–22 minutes.
How do I store leftovers?
Store leftover cake in an airtight container at room temperature for up to 3 days or refrigerate for up to 5 days.