Introduction
Looking for a no-bake dessert that’s rich, indulgent, and incredibly easy to make? Look no further than this Easy Chocolate Icebox Cake. This classic treat requires no baking and only a handful of ingredients, yet delivers a deep chocolate flavor with a creamy texture that’s simply irresistible. Perfect for hot summer days or when you want a quick dessert without turning on the oven, this icebox cake is a crowd-pleaser for any occasion.
The History
Icebox cakes have been around since the early 20th century, back when households relied on iceboxes to keep food cool. The concept was simple: layer cookies or wafers with a creamy filling and let the moisture and chill from the refrigerator meld everything into a cake-like texture. The original versions often used graham crackers or ladyfingers, but over time, chocolate wafer cookies became the go-to choice for chocolate lovers. This Easy Chocolate Icebox Cake is a modern twist on a beloved classic, offering a fuss-free way to enjoy a dessert that’s rich in history and flavor.
Ingredients Breakdown
This recipe is made with just a few basic ingredients, which makes it simple and accessible:
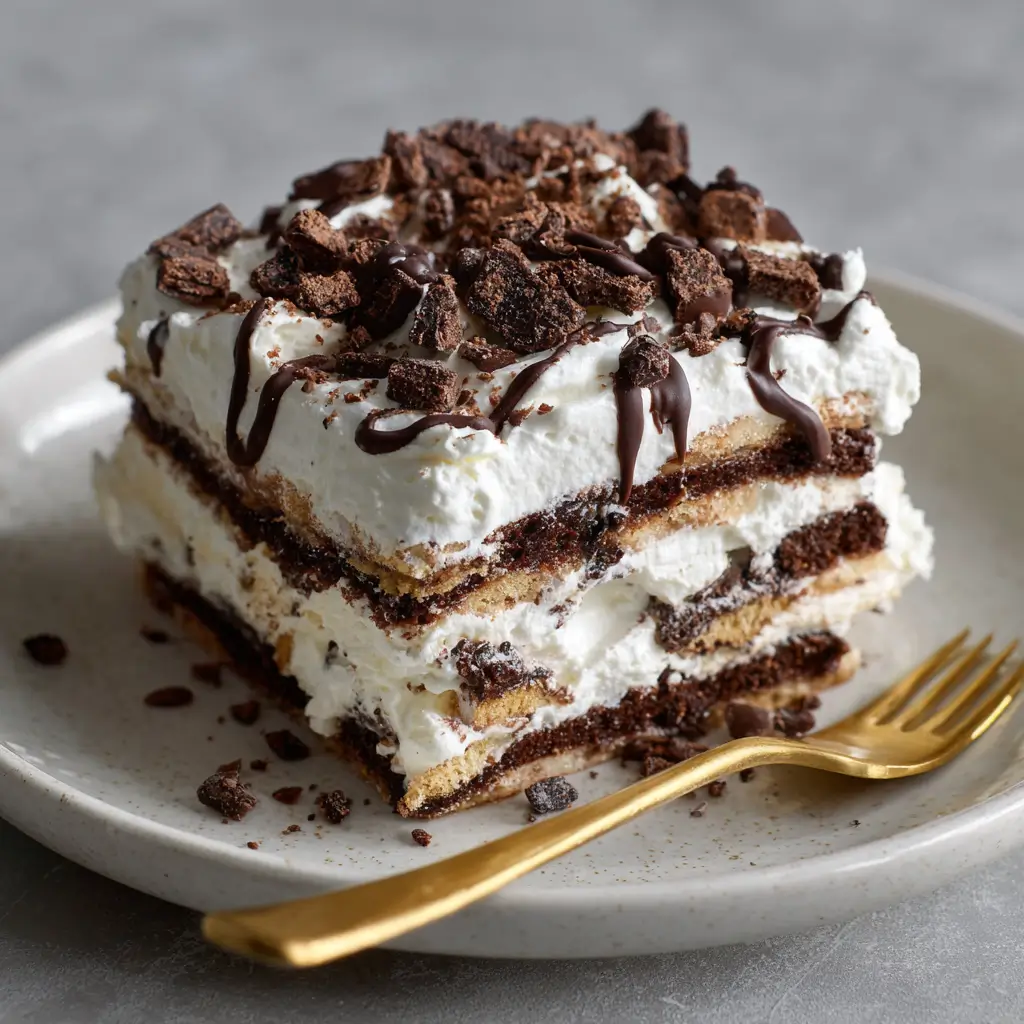
- Chocolate Wafers: These are the base of the cake layers, providing a crunchy texture and rich chocolate flavor. Graham crackers can also be used for a different twist.
- Cream Cheese: Adds a tangy richness and helps stabilize the whipped cream, giving the cake a firm yet creamy texture.
- Heavy Whipping Cream: When whipped to stiff peaks, it gives the filling a light, airy texture that contrasts beautifully with the crisp wafers.
- Confectioners’ Sugar: Sweetens the cream cheese and whipped cream mixture without making it too heavy.
- Vanilla Extract: Enhances the overall flavor of the dessert with a warm, aromatic note.
- Cocoa Powder (optional): Sometimes used to sprinkle between layers for extra chocolate flavor or as a dusting on top.
Step-by-Step Recipe
- Prepare the Filling: In a large mixing bowl, beat the cream cheese until smooth and creamy. Gradually add the confectioners’ sugar and mix until well combined. Add the vanilla extract and mix again.
- Whip the Cream: In a separate bowl, whip the heavy cream to stiff peaks. Gently fold the whipped cream into the cream cheese mixture until fully incorporated and smooth.
- Layer the Cake: In a loaf pan or 8×8-inch dish lined with plastic wrap or parchment paper, begin layering: a layer of chocolate wafers, followed by a generous layer of the cream mixture. Repeat the layers, finishing with a top layer of cream.
- Chill: Cover the dish with plastic wrap and refrigerate for at least 6 hours, preferably overnight, allowing the cookies to soften and the flavors to meld together.
- Serve: Once set, remove from the pan using the parchment or plastic wrap overhang. Slice and serve chilled.
Tips
- Use Sturdy Wafers: Make sure the chocolate wafers are sturdy enough to hold up to the creamy layers without crumbling. If they’re too fragile, they may fall apart when layering.
- Don’t Rush Chilling: For the best texture, allow the cake to chill in the refrigerator for at least 6–8 hours. Overnight chilling is ideal for a firm, sliceable cake.
- Stabilize Whipped Cream: Adding a bit of cream cheese helps stabilize the whipped cream, so your cake holds its shape better and doesn’t weep or collapse.
- Line the Pan: Lining your pan with parchment paper or plastic wrap makes it much easier to lift the cake out once it’s set.
- Decorate Creatively: Dust the top with cocoa powder, grated chocolate, or crushed cookie crumbs for a beautiful finish.
Variations and Customizations
- Chocolate Hazelnut: Stir in a few tablespoons of hazelnut spread into the cream cheese mixture for a Nutella twist.
- Peppermint: Add a few drops of peppermint extract to the cream mixture and top with crushed peppermint candies.
- Coconut: Substitute graham crackers for coconut wafers or add shredded coconut into the cream layers.
- Coffee Liqueur: Sprinkle a bit of coffee liqueur or espresso over each layer for a mocha-flavored version.
- Strawberry Swirl: Fold in strawberry puree or swirl in strawberry jam between layers for a fruity contrast.
- Oreo Version: Use crushed Oreo cookies for the base and top layers with the same cream mixture for a creamy Oreo icebox cake.
Health Considerations and Nutritional Value
This Easy Chocolate Icebox Cake is undeniably decadent and best enjoyed as an occasional treat. Since it’s made with cream cheese, heavy cream, and sugar, it’s high in saturated fats and calories. However, you can make a lighter version by:
- Using low-fat cream cheese and reduced-fat whipped topping instead of heavy cream.
- Reducing the amount of confectioners’ sugar or using a sugar substitute.
- Choosing lower-sugar chocolate wafers or making your own using almond flour and cocoa powder.
On average, one slice of this cake contains around 300–400 calories, depending on the size and ingredients used. It’s high in fat and carbohydrates but low in fiber and protein.
Ingredients
- 1 1/2 cups heavy whipping cream
- 8 oz cream cheese, softened
- 1/4 cup confectioners’ sugar
- 1 teaspoon vanilla extract
- Approximately 24–30 chocolate wafers (or graham crackers for a lighter version)
- Cocoa powder for dusting (optional)
Directions
- In a large bowl, beat the cream cheese until smooth and creamy.
- Add the confectioners’ sugar and vanilla extract, and mix until well combined.
- In a separate bowl, whip the heavy cream to stiff peaks.
- Gently fold the whipped cream into the cream cheese mixture until fully incorporated and smooth.
- In a loaf pan or 8×8-inch dish lined with parchment paper or plastic wrap, layer a row of chocolate wafers at the bottom.
- Spread a generous layer of the cream mixture over the wafers.
- Repeat the layers, finishing with a top layer of cream.
- Cover and refrigerate for at least 6 hours or overnight.
- To serve, lift the cake out of the pan using the parchment or plastic wrap overhang, slice into squares, and enjoy chilled.
FAQ
Can I make this icebox cake ahead of time?
Yes! This cake actually improves when chilled overnight. You can prepare it up to 2–3 days in advance and store it in the refrigerator until ready to serve.
Can I freeze this cake?
While it’s best served chilled in the refrigerator, you can freeze the icebox cake for up to 1 month. Wrap it tightly in plastic wrap and aluminum foil. Thaw in the refrigerator for a few hours before serving.
Can I use a different type of cookie?
Absolutely! Try graham crackers, vanilla wafers, or even Biscoff cookies for a different flavor profile. Just make sure they’re sturdy enough to hold up to the creamy layers.
How long does the cake last in the fridge?
Stored properly in an airtight container or wrapped tightly, the cake will last in the refrigerator for up to 5 days.
Why is my cake too soft or runny?
This can happen if the cream cheese or whipped cream is not cold enough or if the cake isn’t chilled long enough. Ensure both components are well chilled before mixing, and