Chocolate Peanut Butter Layer Cake
Introduction
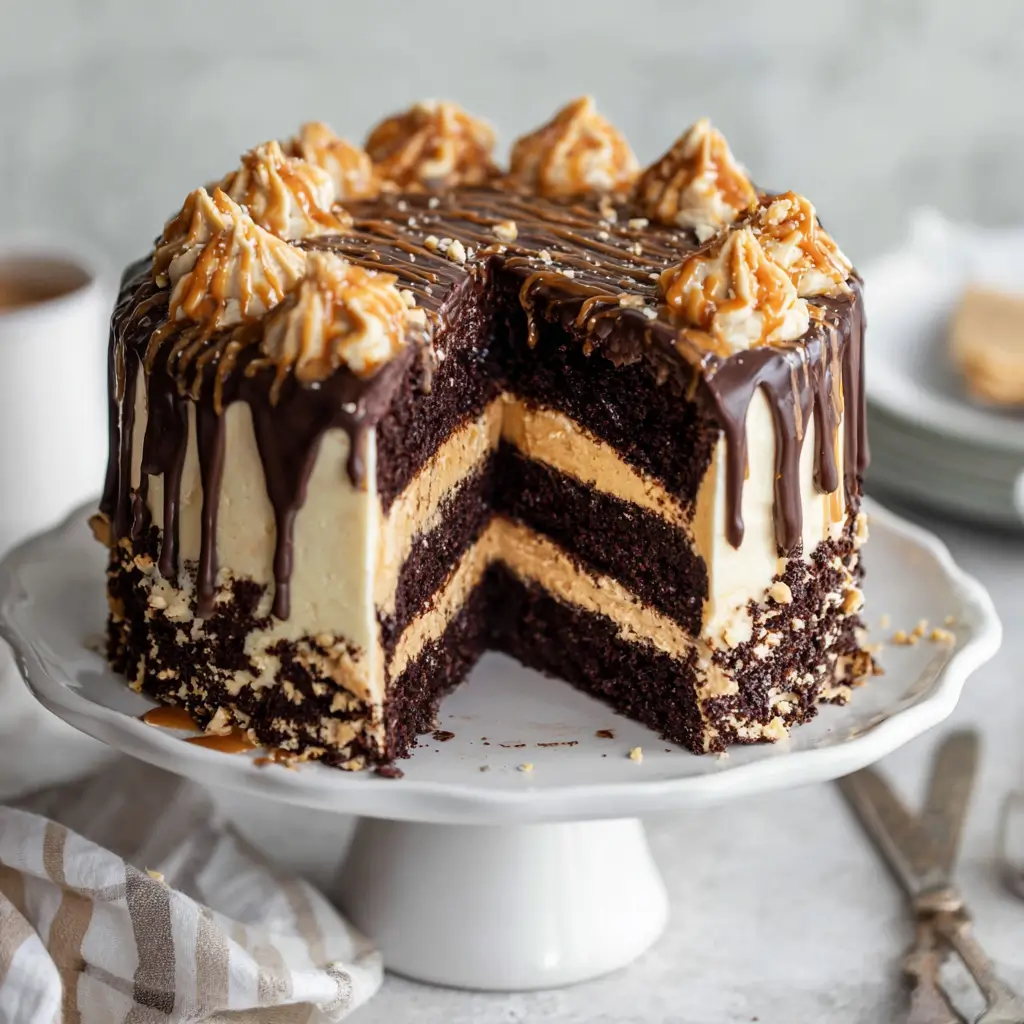
The Chocolate Peanut Butter Layer Cake is a rich, indulgent dessert that brings together two of the most beloved flavors in baking—chocolate and peanut butter. With its moist chocolate layers and creamy peanut butter filling and frosting, this cake is perfect for birthdays, holidays, or any special occasion where you want to impress your guests. Whether you’re a professional baker or just starting out, this recipe is designed to guide you through creating a show-stopping cake that’s as delicious as it looks.
The History
Peanut butter and chocolate have been a winning combination since the early 20th century when peanut butter became a popular American staple. The pairing became iconic with the introduction of Reese’s Peanut Butter Cups in 1928, which solidified the flavor duo in the minds of dessert lovers everywhere. Layer cakes, on the other hand, have a long-standing tradition in American baking, especially during the mid-1900s. Combining these elements into one decadent cake was only a matter of time—and today, it stands as a modern classic in home kitchens and bakeries alike.
Ingredients Breakdown
This cake features several key components: the chocolate cake layers, the peanut butter filling, and the peanut butter frosting. Each ingredient plays a vital role in achieving the perfect balance of flavor and texture. Here’s what you’ll need:
- For the Chocolate Cake Layers: All-purpose flour, unsweetened cocoa powder, granulated sugar, baking soda, salt, eggs, milk, vegetable oil, coffee (or water), and vanilla extract.
- For the Peanut Butter Filling: Creamy peanut butter, unsalted butter, powdered sugar, heavy cream or milk, and vanilla extract.
- For the Peanut Butter Frosting: Similar ingredients to the filling but with more butter and powdered sugar for a stiffer consistency.
Step-by-Step Recipe
- Preheat oven to 350°F (175°C). Grease and flour three 8-inch round cake pans.
- Mix dry ingredients: In a large bowl, whisk together flour, cocoa powder, sugar, baking soda, and salt.
- Add wet ingredients: In another bowl, beat eggs, then mix in milk, oil, coffee, and vanilla. Gradually add to the dry mixture and blend until smooth.
- Bake: Divide batter evenly among prepared pans. Bake for 25–30 minutes or until a toothpick comes out clean.
- Cool: Let cakes cool in pans for 10 minutes, then remove from pans and place on wire racks to cool completely.
- Prepare filling: Beat peanut butter, butter, powdered sugar, and cream until light and fluffy.
- Assemble cake: Place one layer on a serving plate. Spread filling over top. Repeat with remaining layers.
- Frost: Use peanut butter frosting to cover the top and sides of the cake. Decorate as desired.
- Chill: Refrigerate for at least 1 hour before serving for best results.
Tips
- To ensure even layers, use a kitchen scale to divide the batter equally among pans.
- If you don’t have coffee, substitute with hot water for a similar depth of flavor.
- Use room temperature butter for both filling and frosting for smoother texture.
- Let the cake layers cool completely before assembling to avoid melting the filling.
- For a neater finish, frost the cake using a bench scraper and offset spatula.
Variations and Customizations
This versatile cake can be tailored to suit different tastes and occasions:
- Chocolate Ganache Drizzle: Add a glossy chocolate glaze on top for extra richness.
- Peanut Butter Cup Topping: Press mini peanut butter cups around the edges for decoration.
- Nutty Crunch: Sprinkle chopped peanuts between the layers or along the sides.
- Gluten-Free Option: Substitute all-purpose flour with gluten-free flour blend.
- Dairy-Free Version: Use vegan butter and almond milk for a dairy-free adaptation.
- Layer Swap: Make fewer, thicker layers by using two 9-inch pans instead of three 8-inch pans.
Health Considerations and Nutritional Value
While this cake is undeniably rich and indulgent, moderation is key when enjoying desserts like this. Each slice contains a significant amount of sugar and fat due to the peanut butter and butter content. However, peanut butter does offer some nutritional benefits, including protein and healthy fats. For a lighter version, consider substituting part of the sugar with a natural sweetener like stevia or erythritol, and use reduced-fat peanut butter. Also, incorporating whole wheat pastry flour can increase fiber content without compromising flavor.
Ingredients
For the Chocolate Cake Layers:
- 2 ½ cups (315g) all-purpose flour
- ¾ cup (75g) unsweetened cocoa powder
- 2 ½ cups (500g) granulated sugar
- 1 ½ tsp baking soda
- 1 ½ tsp salt
- 3 large eggs
- 1 ½ cups (360ml) milk
- ¾ cup (180ml) vegetable oil
- 1 ½ cups (360ml) hot coffee or water
- 2 tsp vanilla extract
For the Peanut Butter Filling:
- 1 cup (250g) creamy peanut butter
- ½ cup (115g) unsalted butter, softened
- 1 ½ cups (180g) powdered sugar
- 2–3 tbsp heavy cream or milk
- 1 tsp vanilla extract
For the Peanut Butter Frosting:
- 1 ½ cups (340g) unsalted butter, softened
- 1 ½ cups (380g) creamy peanut butter
- 4 ½ cups (540g) powdered sugar
- 3–4 tbsp heavy cream or milk
- 1 ½ tsp vanilla extract
Directions
- Preheat oven to 350°F (175°C). Grease and flour three 8-inch round cake pans.
- In a large mixing bowl, combine flour, cocoa powder, sugar, baking soda, and salt.
- In another bowl, whisk eggs, milk, oil, coffee, and vanilla until well combined.
- Mix wet into dry: Gradually add wet ingredients to dry and beat until smooth and uniform.
- Pour batter evenly into prepared pans. Bake for 25–30 minutes, or until a toothpick inserted in center comes out clean.
- Cool layers: Remove from pans after 10 minutes and let cool completely on wire racks.
- Make filling: Beat peanut butter and butter until creamy. Add powdered sugar, cream, and vanilla; beat until light and fluffy.
- Make frosting: In a separate bowl, beat butter and peanut butter until smooth. Gradually add powdered sugar, alternating with cream and vanilla, until stiff peaks form.
- Assemble cake: Place first layer on a plate. Spread a generous amount of filling over it. Top with second layer and repeat. Finish with third layer on top.
- Frost the cake: Apply a crumb coat, chill for 20 minutes, then frost the entire cake with remaining frosting. Smooth the top and sides.
- Refrigerate: Chill the cake for at least 1 hour before slicing for cleaner cuts and better flavor.
FAQ
Can I make this cake ahead? Yes! Assemble the cake layers and wrap them tightly in plastic wrap and foil. Freeze for up to 3 months. Thaw before assembling and