Confetti Explosion Piñata Cake: A Colorful Celebration in Every Bite
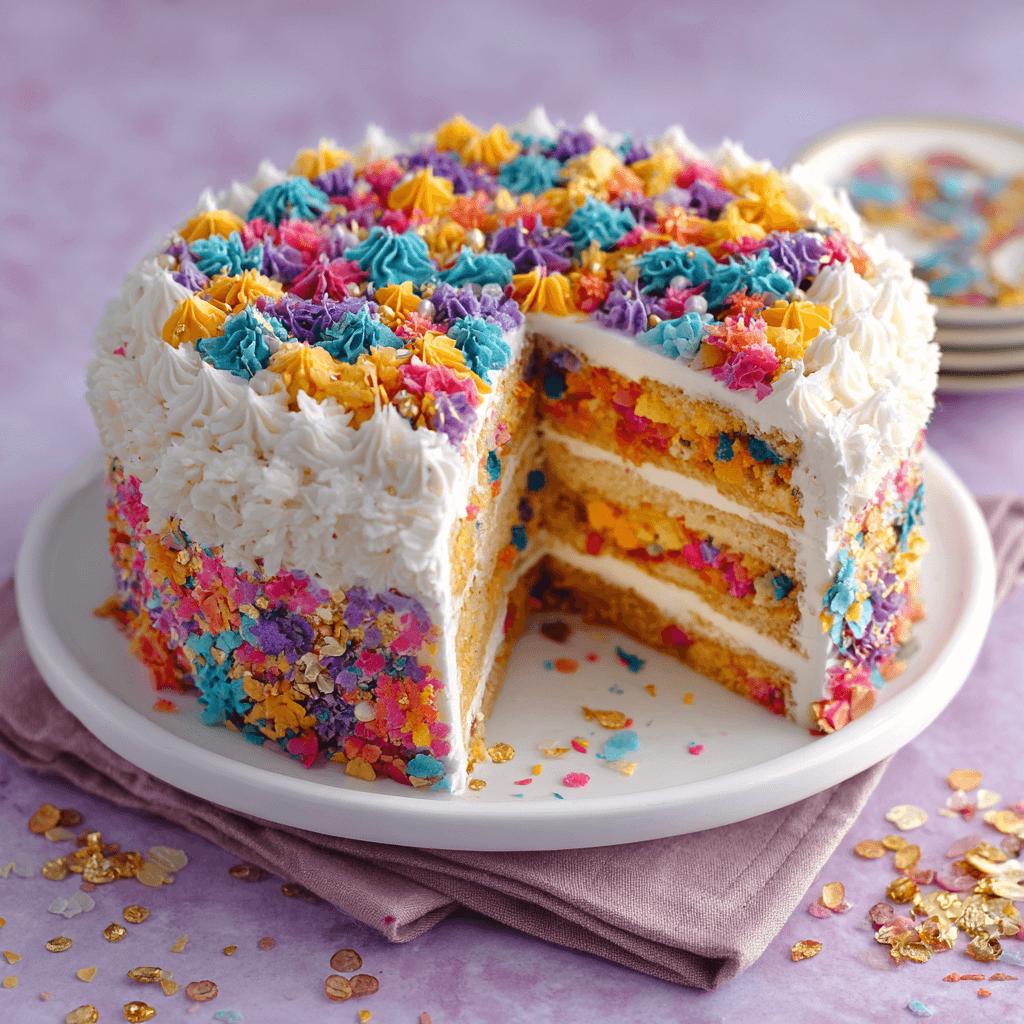
The Confetti Explosion Piñata Cake is more than just a dessert — it’s an experience. Designed to surprise and delight, this cake combines the whimsy of a piñata with the joy of birthday cake, creating a memorable centerpiece for any celebration. Whether it’s a child’s birthday, a festive party, or a fun get-together, this cake will be the star of the show. With layers of vibrant confetti sponge, creamy frosting, and a hidden surprise center filled with candy or sprinkles, each slice is like cracking open your own mini piñata.
The History Behind the Piñata Cake
Piñatas have long been a symbol of celebration across many cultures, especially in Mexico where they are a staple at birthdays and festivals. The idea of combining a traditional cake with the element of surprise from a piñata was born out of creative baking trends that aim to make desserts more interactive and entertaining. The modern “piñata cake” trend took off on social media platforms like Pinterest and Instagram, where bakers showcased their colorful creations bursting with candies and sprinkles. This Confetti Explosion Piñata Cake is a twist on those ideas, emphasizing color, flavor, and fun all in one sweet package.
Ingredients Breakdown
- All-Purpose Flour: Provides structure to the cake layers.
- Baking Powder: Helps the cake rise and stay light and fluffy.
- Salt: Balances the sweetness and enhances flavors.
- Unsalted Butter: Adds richness and moisture to the cake.
- Granulated Sugar: Sweetens the cake and contributes to its texture.
- Eggs: Bind the ingredients together and add structure.
- Milk: Keeps the batter moist and helps create a smooth texture.
- Vanilla Extract: Enhances the overall flavor profile.
- Food Coloring (Assorted Colors): Creates the iconic confetti look.
- Candy Pieces or Sprinkles: The “piñata” surprise inside the cake.
- Buttercream Frosting: For frosting and decorating the outside.
- Edible Decorations (Optional): For a festive finish—think fondant numbers, edible glitter, or chocolate shavings.
Step-by-Step Recipe
- Preheat oven to 350°F (175°C). Prepare two 9-inch round cake pans by greasing and flouring them.
- In a bowl, mix 2 cups flour, 1 1/2 tsp baking powder, and 1/4 tsp salt. Set aside.
- In another bowl, cream 1 cup butter and 1 1/2 cups sugar until light and fluffy.
- Add 3 eggs, one at a time, mixing well after each addition. Stir in 1 tbsp vanilla extract.
- Mix in alternating additions of dry ingredients and 3/4 cup milk, beginning and ending with the dry mixture.
- Divide batter into 4-6 bowls and color each with different food coloring gel.
- Layer spoonfuls of colored batters randomly into the prepared pans to create a marbled effect.
- Bake for 25–30 minutes or until a toothpick inserted in the center comes out clean.
- Let cakes cool completely before removing from pans.
- Cut a circle out of the center of one cake layer using a small round cutter or glass.
- Frost the bottom layer, then place the second cake on top. Fill the hollow center with candy or sprinkles.
- Frost the entire cake with buttercream, smoothing the surface and sides.
- Decorate as desired with additional sprinkles, fondant shapes, or edible glitter.
Tips for Perfect Results
- Use gel-based food coloring instead of liquid for vibrant colors without affecting the batter’s consistency.
- Don’t overmix the batters when layering colors; a marbled effect is part of the charm.
- Freeze cake layers overnight if you want to carve or cut the center more easily.
- Choose sturdy candies that won’t melt or dissolve during baking, such as hard candies, nonpareils, or gummy pieces.
- Chill the cake briefly before adding the final frosting to keep everything firm and neat.
Variations and Customizations
- Chocolate Confetti Cake: Replace half the flour with cocoa powder for a chocolate base.
- Lemon or Almond Variants: Swap vanilla extract with lemon zest or almond extract for a flavor twist.
- Gluten-Free Option: Use gluten-free flour blend and check that all other ingredients are gluten-free certified.
- Vegan Version: Substitute butter with vegan margarine, milk with almond or oat milk, and use egg replacer.
- Themed Toppers: Add themed decorations like stars, animals, or letters for birthdays or holidays.
- Mini Piñata Cupcakes: Make individual cupcakes with a small candy-filled hole in the center.
Health Considerations and Nutritional Value
This cake is best enjoyed as a special treat due to its high sugar and fat content. Each serving (assuming 12 slices) may contain approximately:
- Calories: 400–500 kcal
- Total Fat: 18–22g
- Saturated Fat: 11–14g
- Carbohydrates: 60–70g
- Sugar: 40–50g
- Protein: 3–5g
To lighten the cake slightly:
- Use low-fat milk and reduced-fat butter.
- Replace some sugar with stevia or monk fruit sweetener.
- Use whole wheat pastry flour instead of all-purpose flour.
- Opt for fresh fruit fillings instead of candy centers for a healthier surprise.
Ingredients
- 2 cups all-purpose flour
- 1 1/2 teaspoons baking powder
- 1/4 teaspoon salt
- 1 cup unsalted butter, softened
- 1 1/2 cups granulated sugar
- 3 large eggs
- 3/4 cup milk
- 1 tablespoon vanilla extract
- Gel food coloring (assorted colors)
- 1/2 cup mixed candies or sprinkles (for piñata center)
- Buttercream frosting (store-bought or homemade)
- Optional: Edible decorations (fondant shapes, edible glitter, etc.)
Directions
- Preheat oven to 350°F (175°C). Grease and flour two 9-inch round cake pans.
- In a medium bowl, whisk together flour, baking powder, and salt. Set aside.
- In a large bowl, beat butter and sugar until light and fluffy.
- Add eggs one at a time, beating well after each. Mix in vanilla extract.
- Gradually add the dry ingredients and milk alternately, starting and ending with dry ingredients.
- Divide batter into 4–6 bowls and tint each with a different color using gel food coloring.
- Spoon colored batters randomly into the cake pans to create a marbled pattern.
- Bake for 25–30 minutes or until a toothpick inserted in the center comes out clean.
- Allow cakes to cool completely before handling.
- Using a small round cookie cutter or glass, cut a hole in the center of one cake layer.
- Place the first layer on a serving plate, frost the top, and gently press the second