Introduction
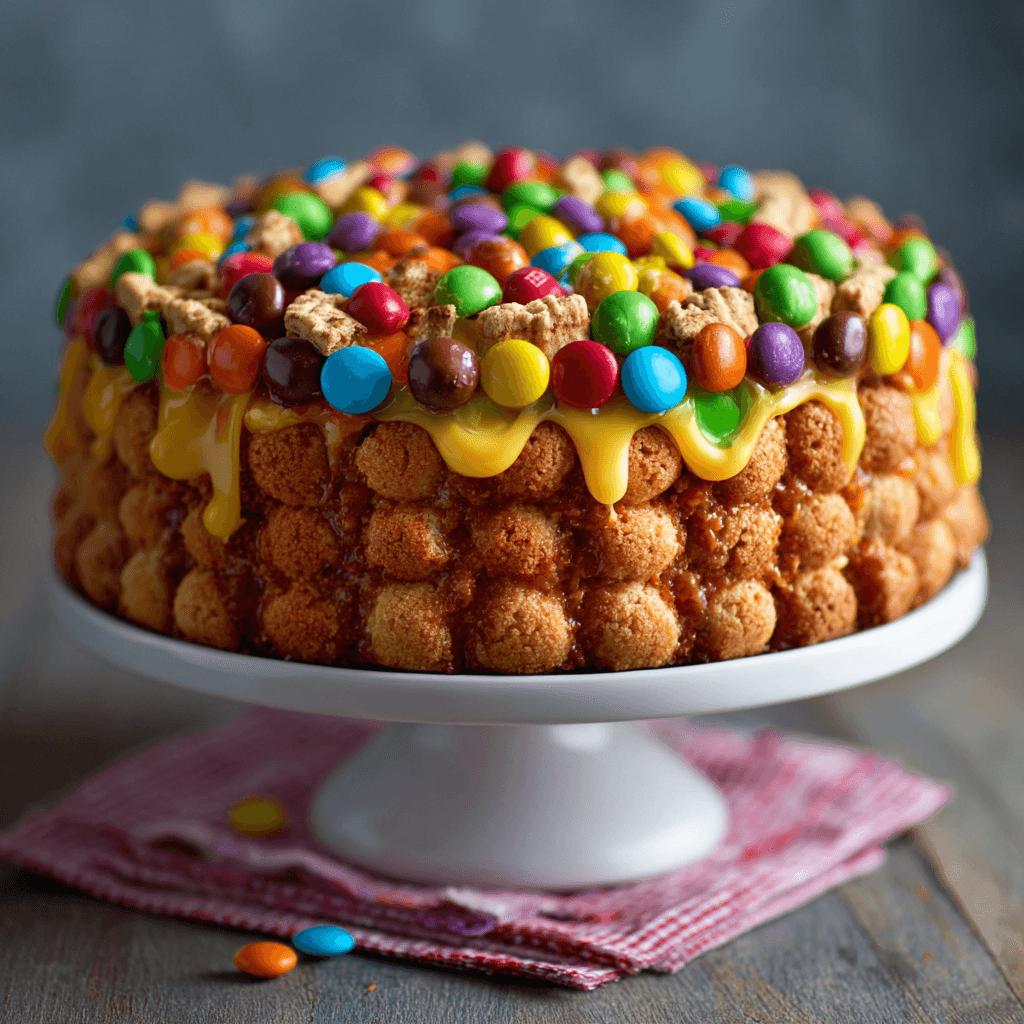
Welcome to the ultimate guide for creating a Candy Coated Cookie Cake — a show-stopping dessert that combines the rich, buttery goodness of a giant cookie with a vibrant, crunchy candy shell. Whether you’re planning a birthday celebration, holiday gathering, or just want to impress your friends and family, this cookie cake is sure to be the centerpiece of any table. It’s soft on the inside, slightly crisp on the edges, and covered in a dazzling array of colorful candies that make it as fun to look at as it is delicious to eat.
The History
Cookie cakes have been around since the late 1970s when bakeries began experimenting with oversized cookies to offer something more shareable than traditional single-serving treats. The idea quickly caught on due to its versatility and fun presentation. Over time, bakers started adding various toppings — including icing, sprinkles, and eventually candy coatings — to elevate both flavor and visual appeal. Today, the candy-coated version has become especially popular for kids’ parties, school events, and even adult celebrations where a whimsical twist on classic desserts is desired.
Ingredients Breakdown
- All-Purpose Flour: Provides the structure for the cookie cake base.
- Baking Soda: Acts as a leavening agent to help the cookie rise slightly while baking.
- Salt: Enhances the overall flavor and balances the sweetness.
- Unsalted Butter: Adds richness and depth, ensuring a soft and chewy texture.
- Brown Sugar: Contributes moisture and caramel-like flavor.
- Granulated Sugar: Sweetens the dough and helps create a slight crunch on the edges.
- Eggs: Bind the ingredients together and add structure.
- Vanilla Extract: Brings a warm, aromatic flavor to the entire cookie.
- Chocolate Chips: Adds pockets of melty chocolate throughout the cake.
- Candy Coating: Colorful candies like M&Ms, Smarties, or seasonal sprinkles for decoration.
- Frosting (Optional): For spreading between layers or on top before adding candies.
Step-by-Step Recipe
- Preheat oven to 350°F (175°C). Grease a 9- or 10-inch round cake pan or pizza tray and line it with parchment paper.
- In a medium bowl, whisk together flour, baking soda, and salt. Set aside.
- In a large mixing bowl, use an electric mixer to cream together softened butter, brown sugar, and granulated sugar until light and fluffy.
- Add eggs one at a time, mixing well after each addition. Stir in vanilla extract.
- Gradually mix in the dry ingredients until fully incorporated.
- Fold in chocolate chips using a spatula or wooden spoon.
- Transfer the dough to the prepared pan, pressing it evenly into the bottom.
- Bake for 25–30 minutes, or until the edges are golden brown and the center is set but still soft.
- Let cool completely before spreading frosting over the top (if using).
- Press colorful candies firmly into the frosting to create patterns, messages, or random designs.
- Cut into wedges and serve once everything is set.
Tips
- Don’t overbake the cookie cake — it should remain soft in the center for that classic chewy texture.
- Use room temperature butter and eggs for smoother mixing and better texture.
- If you don’t have a round pan, you can use a pizza stone or baking sheet to shape it by hand.
- To ensure even thickness, spread the dough gently with a spatula rather than pressing too hard.
- Chill the dough for 30 minutes before baking if it feels too sticky — this will also enhance the flavor.
- For a professional finish, outline shapes or letters with candies first, then fill them in.
- Store leftovers in an airtight container at room temperature for up to 4 days, or refrigerate for longer shelf life.
Variations and Customizations
- Theme-Based Cakes: Use themed candies for holidays — red and green M&Ms for Christmas, pastel-colored candies for Easter, or spooky candies for Halloween.
- Flavor Variations: Add peanut butter, white chocolate chips, or chopped nuts to the dough for different flavor profiles.
- Diet-Friendly Options: Use gluten-free flour or vegan butter and egg substitutes to accommodate dietary needs.
- Layered Version: Bake two thinner rounds and frost between layers to create a layered cookie cake.
- Drizzle Designs: After applying the candies, drizzle melted chocolate or white chocolate over the top for extra flair.
- Mini Cookie Cakes: Make individual-sized versions using muffin tins for party favors or personal servings.
Health Considerations and Nutritional Value
This Candy Coated Cookie Cake is a treat best enjoyed occasionally due to its high sugar and calorie content. A typical slice may contain approximately 400–600 calories depending on size and added candies or frosting. To make it healthier:
- Substitute part of the flour with whole wheat flour.
- Reduce the amount of added sugar by 25%.
- Use dark chocolate chips instead of milk chocolate.
- Opt for natural food coloring candies or homemade alternatives.
- Replace butter with unsweetened applesauce or mashed banana (note: this may affect texture slightly).
While not a health food, this cookie cake can still be enjoyed responsibly as part of a balanced diet and lifestyle.
Ingredients
- 2 ¼ cups all-purpose flour
- ½ tsp baking soda
- 1 tsp salt
- ¾ cup unsalted butter, softened
- ¾ cup brown sugar, packed
- ½ cup granulated sugar
- 2 large eggs
- 2 tsp vanilla extract
- 1 ½ cups chocolate chips
- 1–2 cups assorted candy-coated chocolates or sprinkles
- Optional: ½ cup frosting or buttercream for topping
Directions
- Preheat oven to 350°F (175°C) and prepare a 9- or 10-inch round pan with parchment paper.
- Mix flour, baking soda, and salt in a bowl; set aside.
- Cream butter, brown sugar, and granulated sugar until fluffy.
- Add eggs one at a time, followed by vanilla extract.
- Slowly incorporate dry ingredients into wet mixture.
- Fold in chocolate chips.
- Spread batter evenly in the pan and bake for 25–30 minutes.
- Cool completely, frost if desired, and press candies into the top.
- Cut and serve.
FAQ
Can I freeze the cookie cake?
Yes! Wrap it tightly in plastic wrap and foil before freezing. Thaw at room temperature before serving.
How long does it last?
Up to 4 days in an airtight container at room temperature, or up to a week in the fridge.
Can I make it ahead of time?
Absolutely! Bake it a day in advance and decorate right before serving for freshest results.
What can I substitute for chocolate chips?
You can use raisins, dried cranberries, chopped nuts, or other types of chips (white chocolate, butterscotch).
Is it possible